
Why small parts need a different plan
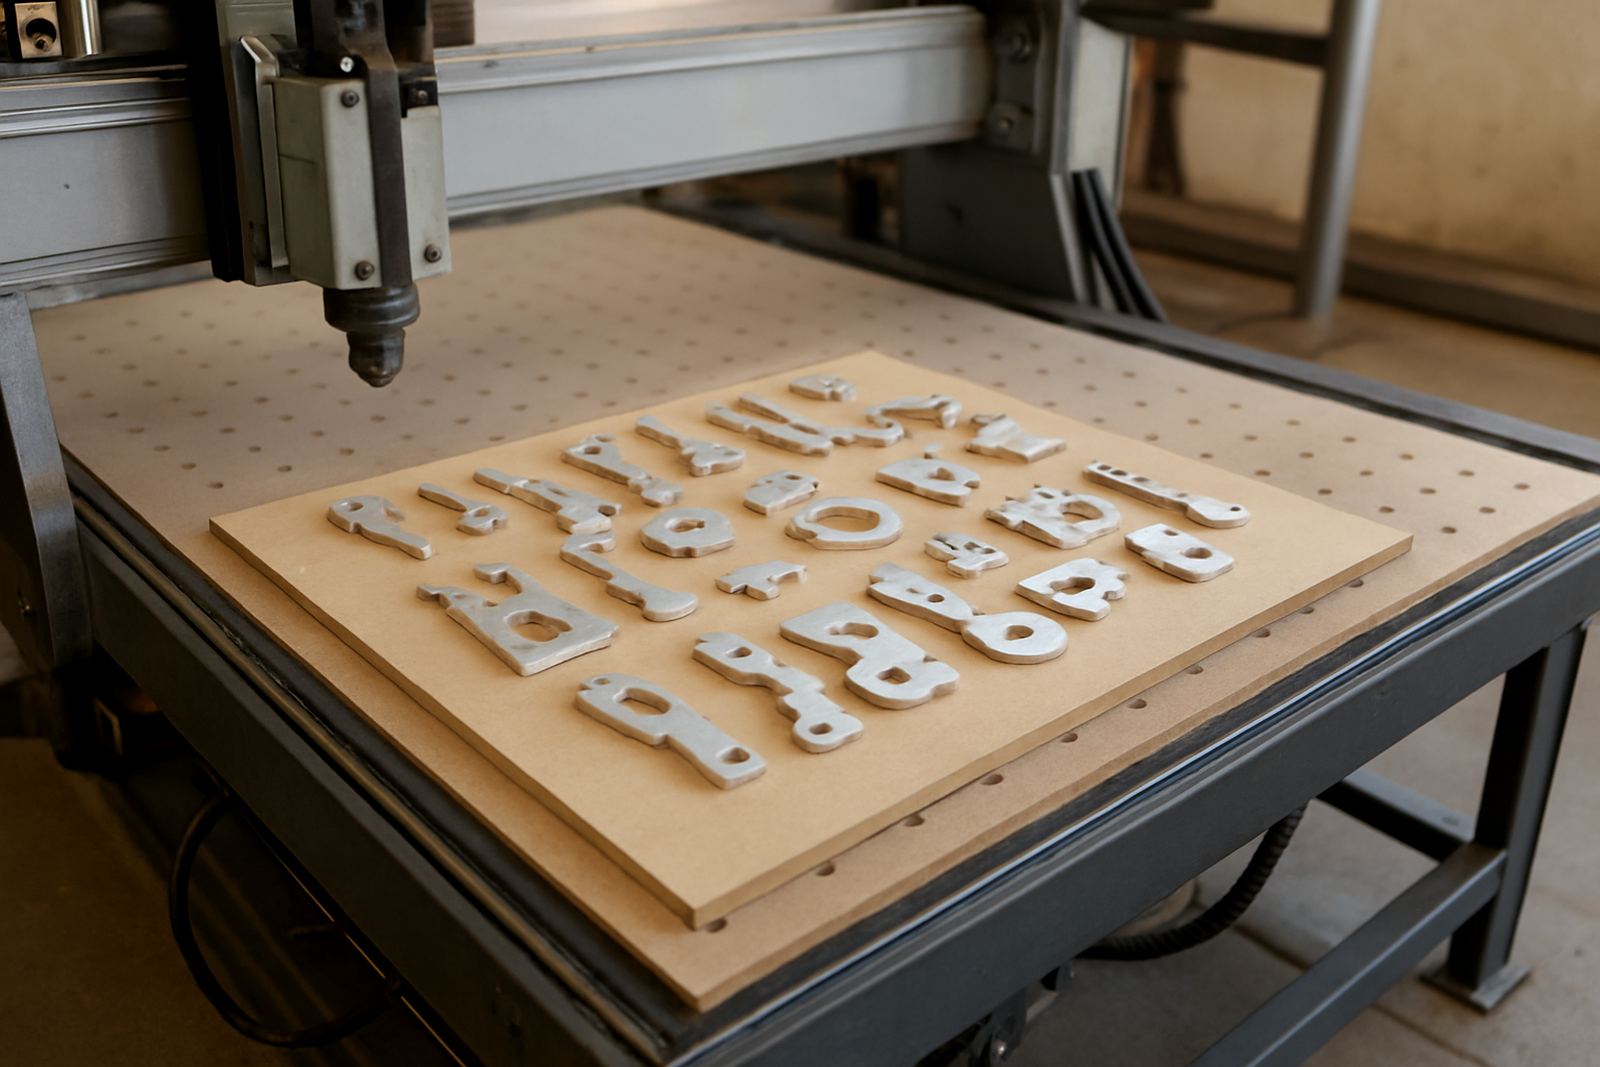
Once a part gets small enough, the usual hold-down approach can work against you. There is less surface area, less weight and less forgiveness if the cutter pulls, lifts or shakes the blank. On a router, a 40 mm x 40 mm component can behave very differently from a full sheet panel, especially when the job has fine corners, narrow webs or multiple pockets. The aim is to keep the part supported for as long as possible, then release it only when the cut is fully controlled.
In South African shops, this often comes up on signage letters, control panel inserts, brackets, labels and small plastic or aluminium pieces. In hot inland conditions the material can move a little, while coastal humidity can change board behaviour during the day. That means your holding method should match the material, the cutter and the shop floor conditions, not just the drawing.
Choose the holding method before you choose the cut path
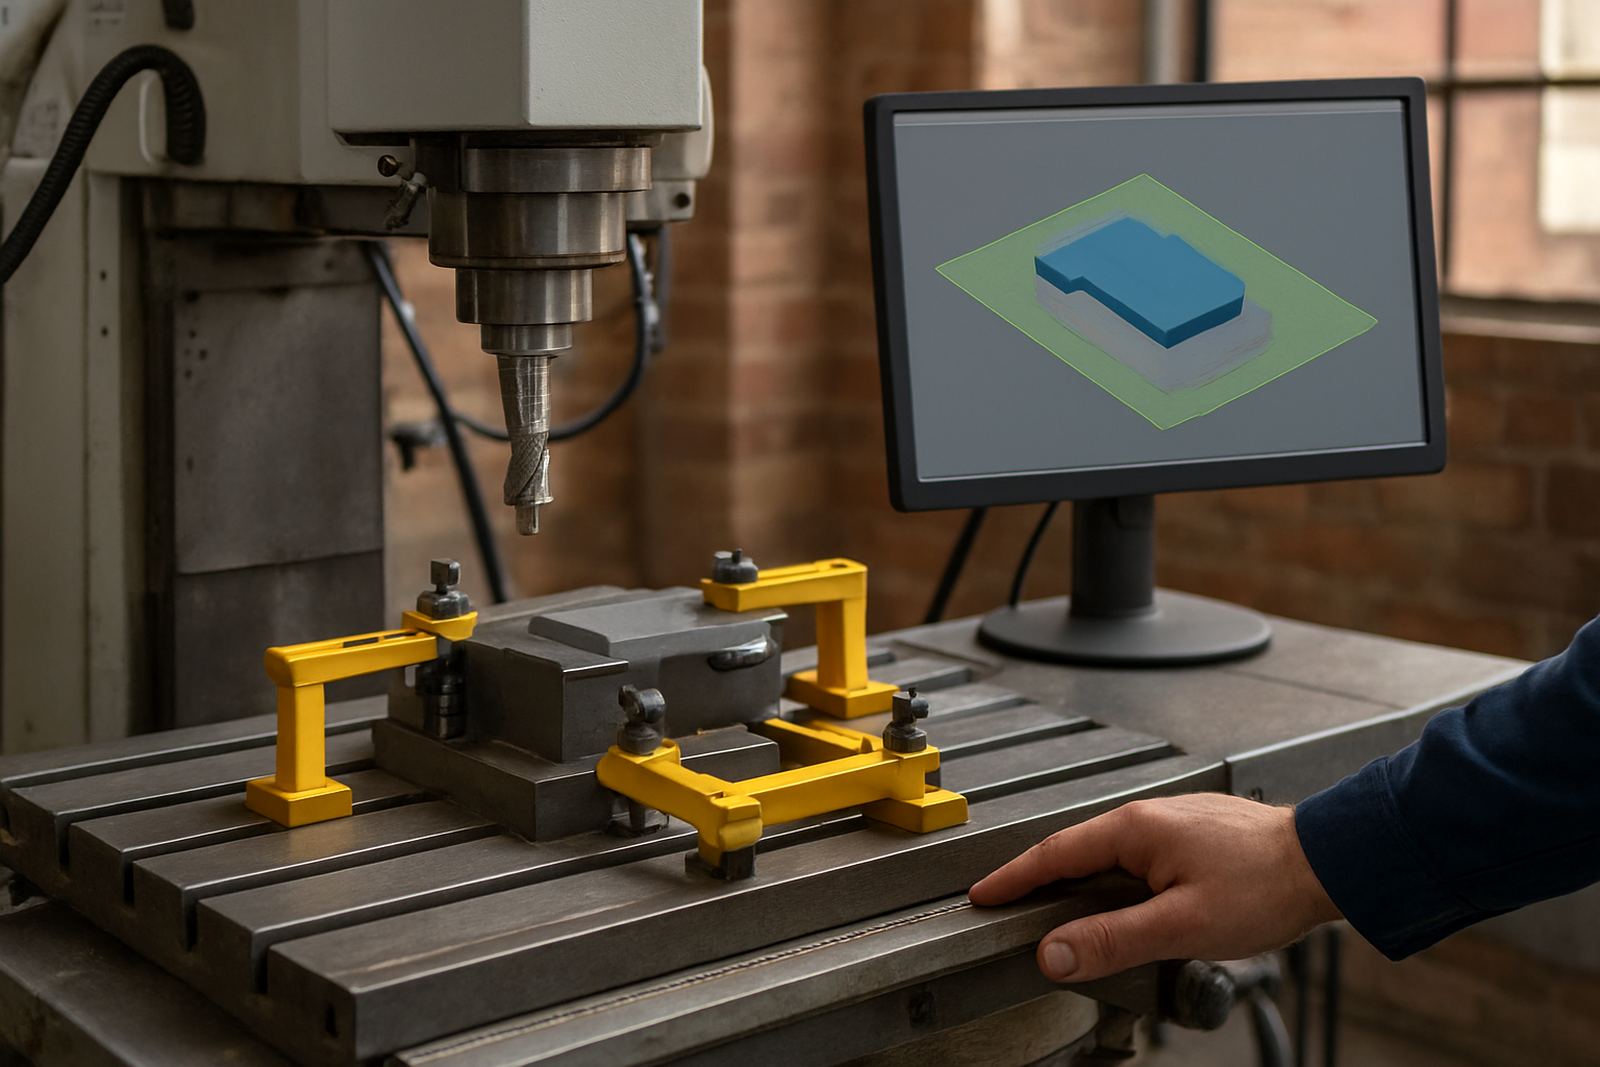
If the part is tiny, start with how you will hold it. Vacuum tables are useful, but they need enough sealed area to do the job. Mechanical clamps can work well on thicker stock, though they must stay clear of the cutter and the spoilboard. Double sided tape can help on very small parts, but only when the surface is clean and flat. For some jobs, a combination is best: light vacuum support, tape at the edges and tabs on the last profile cut.
Do not rely on holding alone if the tool path still leaves a thin bridge or a long unsupported finish cut. The holding method and the tool path should support each other. If the operator has to fight the part at the machine, the setup is not right yet.
- Use vacuum where the part has enough area to seal properly.
- Use clamps only where tool clearance is checked and marked.
- Use tape for short runs or light parts, not as a cure for poor setup.
- Test the hold with a hand push before starting the programme.
Tabs that hold, but still break cleanly
Tabs are often the safest answer for smaller routed components, but they must be sized with care. If they are too small, the part shifts before the cut is finished. If they are too large, they take too much force to break off and leave rough edges. For thinner plastics, a light tab with a clean finishing pass may be enough. For denser boards or aluminium, the tab needs to be stronger and placed where it will not damage a visible edge.
Spacing matters as much as size. A long straight profile may only need a few tabs, but a small round or irregular part may need more frequent support. The best tab pattern depends on cutter diameter, feed rate and the direction of cut. When the finishing tool runs too close to the same point on every pass, the part can start to wobble. Move the load around where you can.
- Place tabs where they are easy to trim or sand later.
- Avoid tabs on fine detail edges or visible faces.
- Keep tab height consistent so the part does not tilt.
- Check that the last pass does not cut through all the tabs at once.
Cut order can make the difference between safe and scrap
Sequence is critical with small parts. If you cut all the profiles first, you may release dozens of loose pieces before the machine has finished. That is when parts get sucked into the cutter, shift under the spindle or fall off the bed. A safer method is to complete internal features first, then leave the outer profile for last. This keeps the blank stable for as long as possible.
For nested jobs, it can help to group similar parts and cut from the inside out. Small islands, slots and pockets should be handled before the external edge is touched. On a busy production floor in Pretoria or Johannesburg, where one machine may be running back-to-back jobs, this sequence saves time as well as material. It reduces the chance of operator intervention mid-cycle, which is where mistakes often begin.
- Machine pockets and holes before outer profiles.
- Leave fragile connectors and thin webs for the end.
- Use lead-ins that reduce sudden tool load on small features.
- Keep a clear path for offcuts so they do not catch under the gantry.
Tool choice and feeds for fragile components
Small parts usually need a lighter touch than larger panels. A cutter that is perfect for heavy cutting can be too aggressive for a delicate profile. Smaller diameter tooling often gives better detail and less cutting force, but only if the feed and speed are matched correctly. If the spindle is too fast and the feed too slow, the tool can burn, chip or recut material. If the feed is too high, the part may break free before the tabs do their job.
Tool sharpness is just as important. A blunt cutter pulls harder on the job and can cause heat build-up, which is a problem on plastics and coated boards. In coastal areas like Durban or Cape Town, where humidity can affect how some materials behave, a clean sharp tool and a well tuned cut become even more important. It is worth checking the cutter after a few runs rather than waiting until the edges start looking rough.
Use test pieces and a short dry run
Before you commit to a batch, run one sample and check it from start to finish. A short dry run without cutting can show where the head will travel, where clamps may interfere and whether the tab positions make sense. Then cut one part and inspect the breakaway, the edge quality and the amount of movement near the end of the programme. That one sample can save a lot of material, especially when the job uses expensive sheet stock or there is only one blank available.
It also helps the operator know what to expect. If the part is likely to shift slightly after the last tab, the machine can be stopped safely and the piece cleared by hand. That is better than hoping the offcut will stay put and then losing the part into the dust extraction or under the router bed.
- Run one part first, even if the rest of the batch is urgent.
- Check tab strength after the first cut.
- Watch for edge lift, chatter marks or heat on the finish pass.
- Adjust the sequence if the first part shows movement.
A Durban shop example: small aluminium plates on a tight deadline
A Durban shop making small aluminium identification plates had repeated issues with parts moving on the last cut. The team tried to speed things up by cutting the full profile first, but the pieces began to lift and some were damaged before the batch was complete. The fix was straightforward: pocket features first, then a lighter finishing pass, then tabs placed on the less visible edges. The holding method was changed from loose clamping to a more even support pattern, and the operator ran a sample before the full batch.
The result was fewer rejected parts and less hand finishing. The job still took care and attention, but it became predictable. That is the real goal with small part routering, not just getting the shape right, but getting every part off the machine in one piece and ready for the next step.