
Start With the Part, Not the Machine
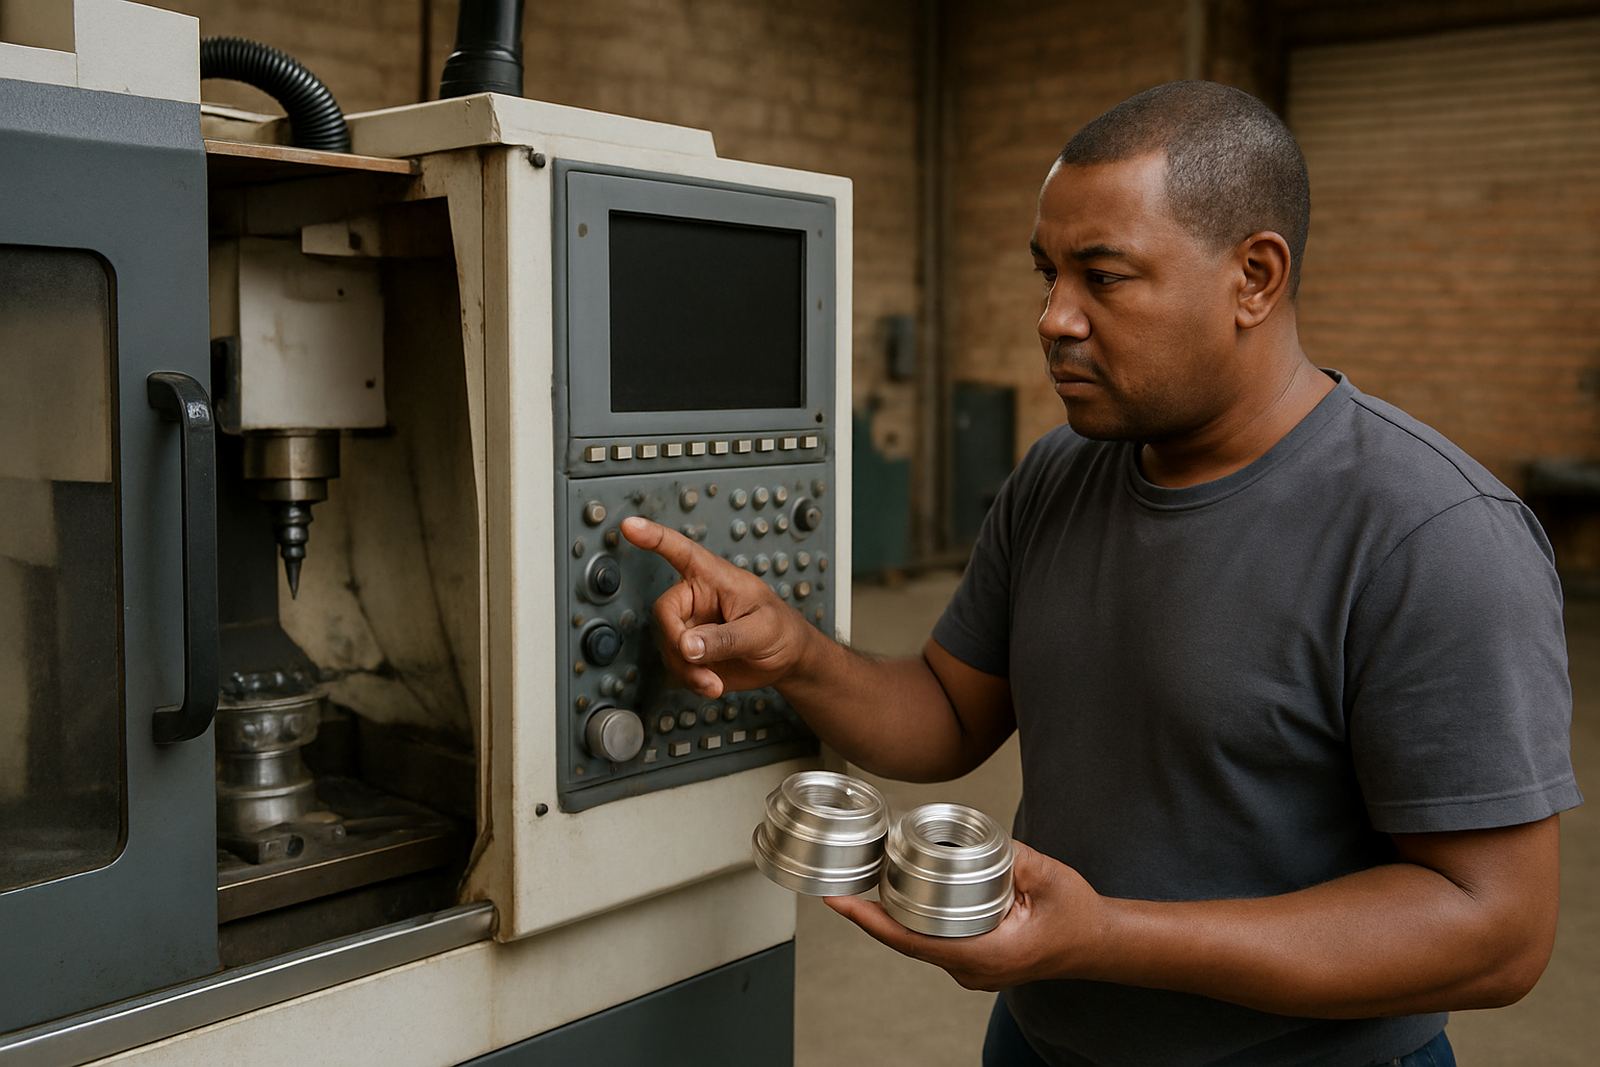
Good mill-turn planning starts with the drawing and the tolerances, not with whichever machine is free in the shop. A shaft with milled flats, cross holes and turned diameters has very different demands from a compact valve body or a face plate with pockets. Before any program is written, the job should be broken into what must happen in the lathe spindle, what must happen in the mill head, and what can be done in one clamping.
For South African job shops, this matters when materials are imported, lead times are tight and the customer wants parts on the floor by Friday. If the part is being supplied into mining, food processing or general engineering, ask where the critical dimensions live and which features need the best finish. That tells you whether to rough in turning first, finish in milling later, or machine the complete part in one setup.
- Identify every turning and milling feature on the drawing.
- Mark critical tolerances and surface finish callouts.
- Check if the part needs live tooling, sub spindle work or off-centre drilling.
- Confirm material condition, bar stock size and any heat treatment after machining.
Plan the Setup Sequence Before Code Is Written
Mill-turn machines reward shops that think in sequences. If a feature needs the part to be regripped, then that regrip has to be planned into the process and the software output. A simple rule helps: each setup should remove as many features as possible before the next transfer or chuck change. That reduces variation and cuts the risk of a part walking out of tolerance halfway through the cycle.
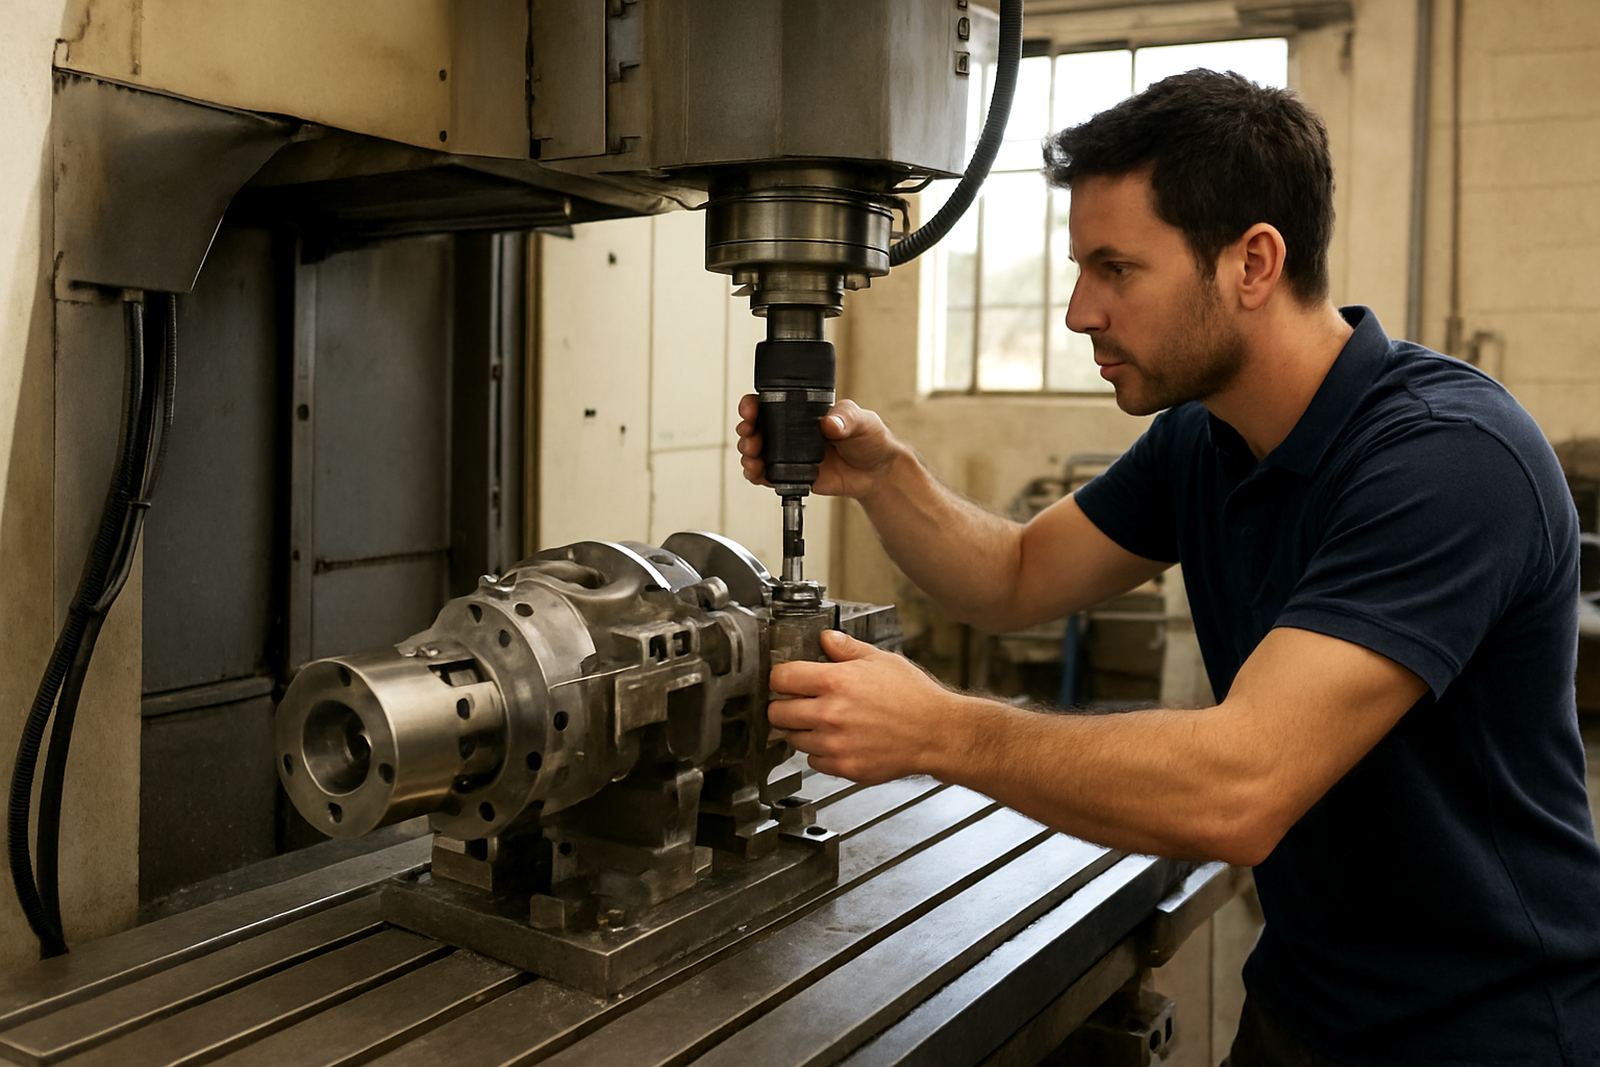
On the floor, this also means checking the physical side of the machine. Is there enough tool clearance for a long boring bar. Will the sub spindle interfere with the live tool holder during transfer. Can the operator load safely without reaching over the turret. These are not software questions only, they are production questions too, and they matter when load-shedding has already pushed the team behind schedule.
- Decide the order of operations from first clamp to final part-off.
- Verify tool reach, holder clearance and spindle transfer space.
- Allow for probing, measurement and any in-process checks.
- Build in time for chip control, coolant wash and swarf removal.
Make the Post-Processor Match the Machine Reality
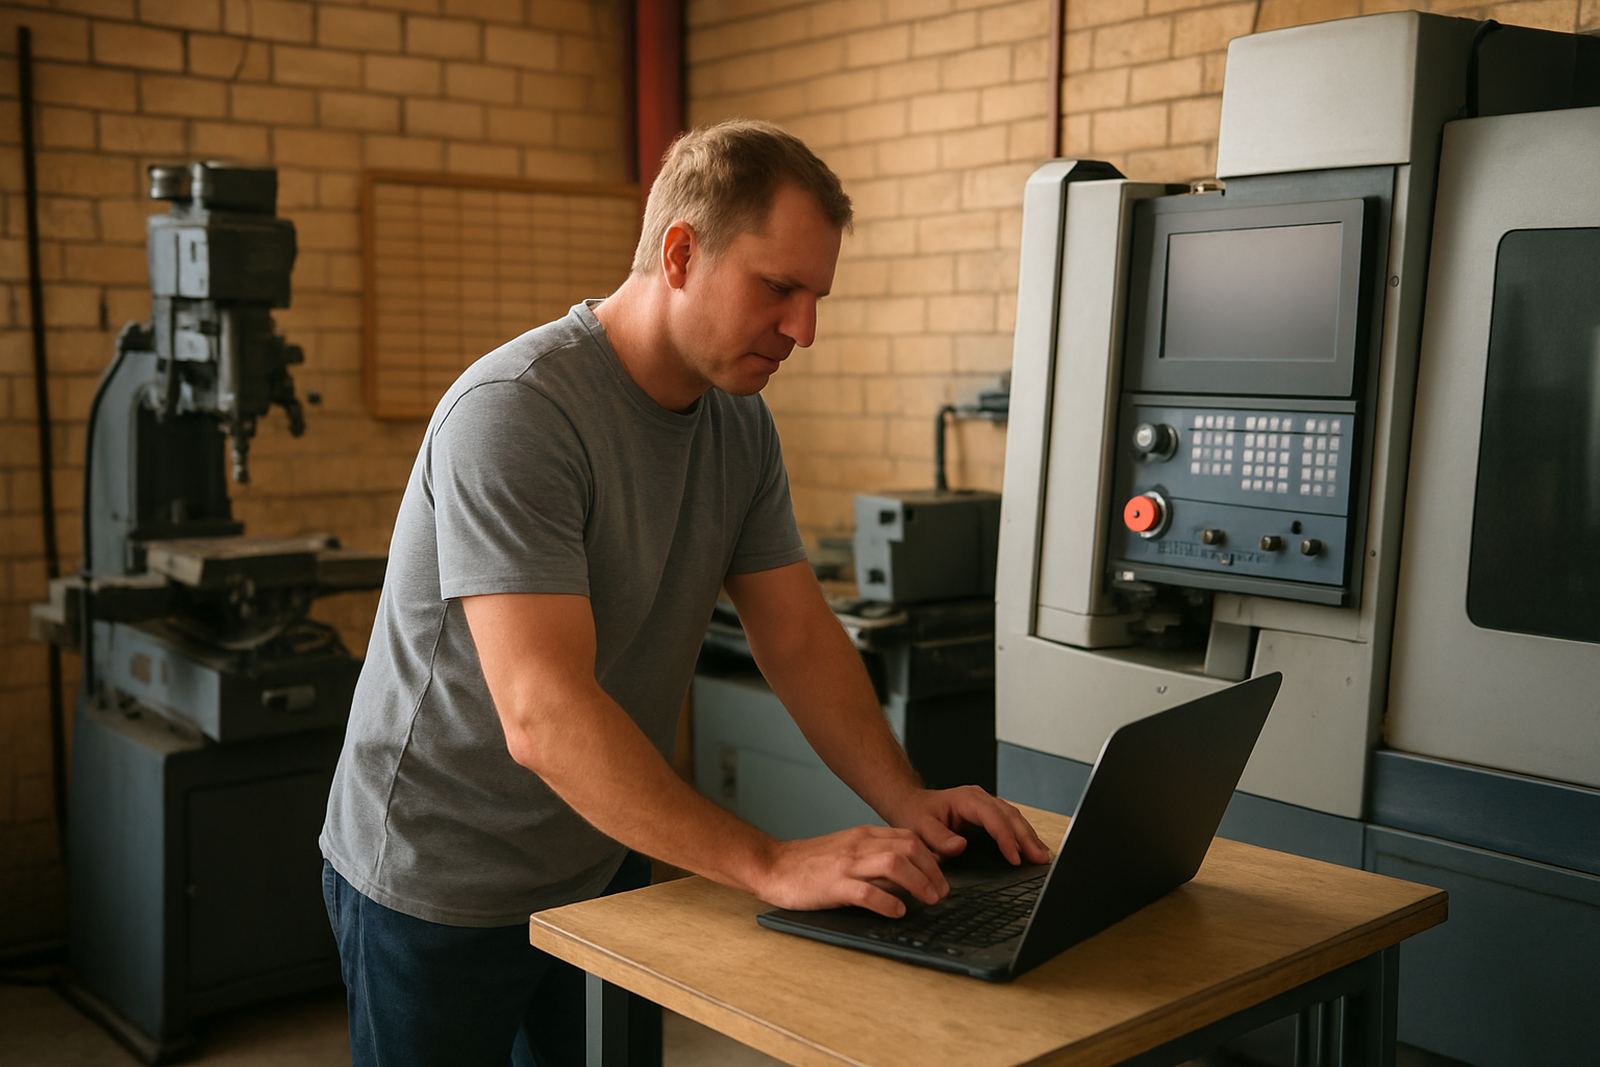
A mill-turn program is only useful if the post-processor matches the machine's actual movements, axes and control behaviour. Shops often lose time because the code looks correct on screen but the machine handles orientation, tool calls or spindle sync differently. That is where a custom post-processor saves hours, especially when a workshop runs more than one machine brand or has a mix of older and newer controls.
For a shop in Pretoria, Johannesburg or Durban, the safest approach is to tune the post around the machine, not force the machine to fit generic output. The output should reflect real tool changes, safe retracts, sub spindle handovers and any special M-codes used on site. If the machine uses an unusual turret direction or clamp state, that should be built into the post and tested on a dry run before a live job is loaded.
- Match axis naming, spindle sync and tool change logic.
- Check safe start lines, retract moves and transfer positions.
- Test every output on a simulation and then on the machine in air cut.
- Keep a change log so future edits do not break known working code.
Tooling Choices Decide How Much Can Be Combined
Mill-turn only works well when the tooling strategy supports it. Live tooling, driven tools, boring bars, grooving tools and turning inserts all need to be selected for the actual cycle, not just what is already in the cabinet. If a feature needs three tools when one properly chosen cutter would do, the cycle time grows and the setup becomes more complicated than it needs to be.
Tool library planning is often overlooked, yet it is one of the best ways to keep mill-turn work under control. A clean library with tool lengths, diameters, holder types and offset notes helps operators avoid wrong selections and reduces last-minute edits. In humid coastal areas like Cape Town and Durban, correct storage matters too because toolholders and inserts can suffer if they are left exposed near the machine for too long.
- Group tools by operation: turning, milling, drilling and transfer work.
- Set standard naming for holders, inserts and cutter stick-outs.
- Record measured lengths, diameters and wear notes after each job.
- Store sensitive tooling properly to prevent corrosion and contamination.
Train the People Who Will Run the Job
The best mill-turn plan falls apart if the programmer and operator are not on the same page. A clear handover should cover setup order, offset strategy, tool life, probing steps and what to do if the machine alarms out mid-cycle. In many shops the programmer knows the logic but the operator is the one who sees the real-time issues, so both need a shared method.
Training should be practical and based on the actual machine in the shop. A short session on first article checking, safe manual intervention and how to recover after a tool break can save a full day of downtime. For owner-run workshops, it also helps to understand which steps are worth automating and which steps should stay manual for control and flexibility. Even a small mistake in setup can cost a full batch, so the process needs to be boringly consistent.
- Cover setup sheets, offsets and alarm recovery in plain language.
- Show operators how to verify first-off parts before batch release.
- Explain what to do when stock length, chuck grip or probe readings change.
- Keep written notes near the machine for repeat jobs and shift handovers.
A Durban Job Shop Example: One Shaft, Two Operations
Consider a Durban workshop making a medium-size shaft for a packaging line. The job starts from bar stock, turns the main diameters and face, then uses live tooling to mill a keyway and drill a cross hole. If the part is transferred to a sub spindle for the second end, the transfer point must be chosen so the finished side stays protected and the datum remains repeatable.
In this kind of job, the planner should check the gripping length, bar feeder capacity and coolant control before release. Coastal humidity, power interruptions and rushed changeovers can all affect consistency, so the work instruction should spell out everything from tool offsets to how the part is cleaned before inspection. When the cycle is right the shop gets fewer touch points, less scrap and a smoother handoff to finishing or inspection.
A good local rule is simple: if the operator cannot explain the sequence without looking at the control, the process is not ready yet. That does not mean the cycle must be slow, only that it should be clear enough for a second person to run it without guesswork.
Use First Job Support to Lock In the Process
Mill-turn planning does not end when the code is posted. The first live run is where you find the small issues that never show up in theory, like chip packing, transfer timing, a missing clearance move or an offset that needs fine adjustment. First job support is where the shop turns a plan into a repeatable process, and it is often the difference between a one-off win and a steady production method.
For shops across Centurion, Pretoria, Johannesburg, Vereeniging, East Rand, West Rand, Cape Town and Durban, the aim is the same: less confusion, better part consistency and a setup that can be repeated by the next shift without drama. Once the machine, post and tooling all agree, mill-turn becomes a practical way to reduce handling and keep delivery times under control.