
Why clamp clearance is worth checking twice
Most shops focus on toolpaths, feeds and speeds, then trust the clamps to stay out of the way. That is where many avoidable losses happen. A cutter can run perfectly for 40 minutes and still strike a clamp, bolt head or proud part edge on the final pass. In a busy workshop near Centurion or Pretoria, that means a broken cutter, a marked table, and sometimes a scrap part that was already close to tolerance.
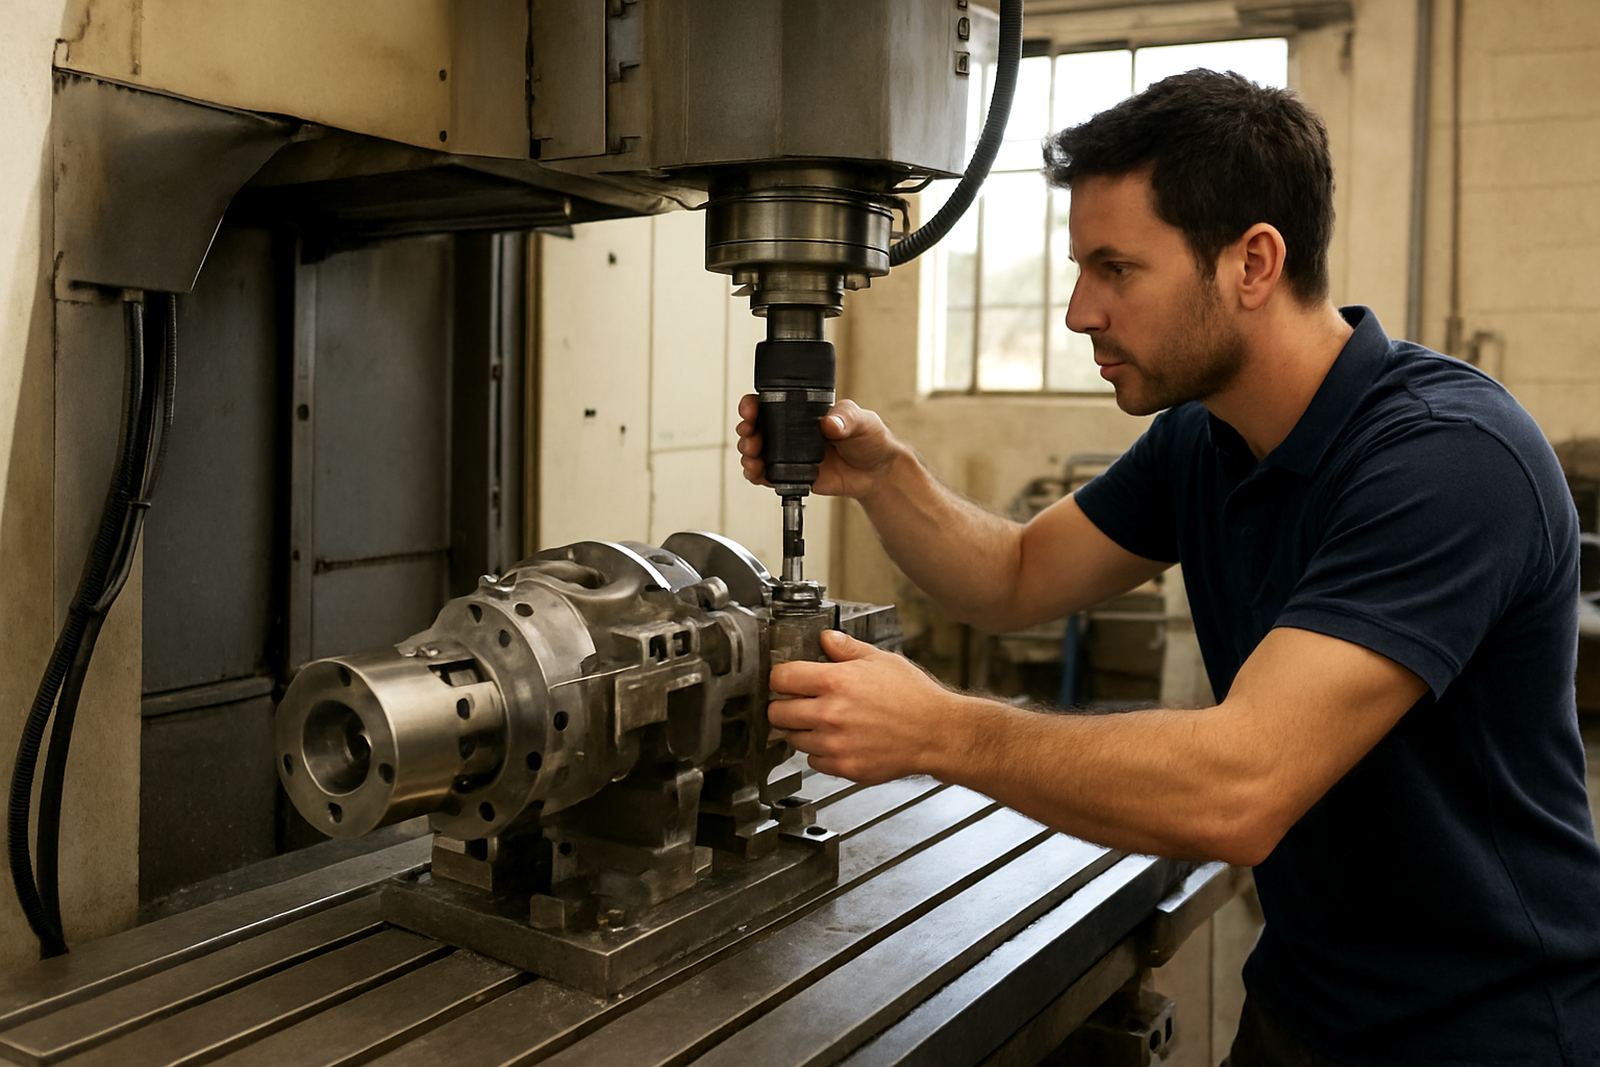
Clamp clearance is not only a router issue. Milling shops, turning centres with live tooling and plasma tables all benefit from the same discipline: know where every hold-down point sits in relation to the toolpath, then verify it before the machine starts. Coastal shops in Durban also have to think about corrosion on clamp hardware, because a rusty bolt head or swollen fixture plate can create a surprise obstruction that was not there last week.
The good news is that safer clamp clearance does not need fancy hardware. It mostly needs repeatable habits, a proper simulation, and a clear understanding of what happens when the machine is homing, probing, cutting or returning for a second operation.
Simulate the whole setup, not just the toolpath
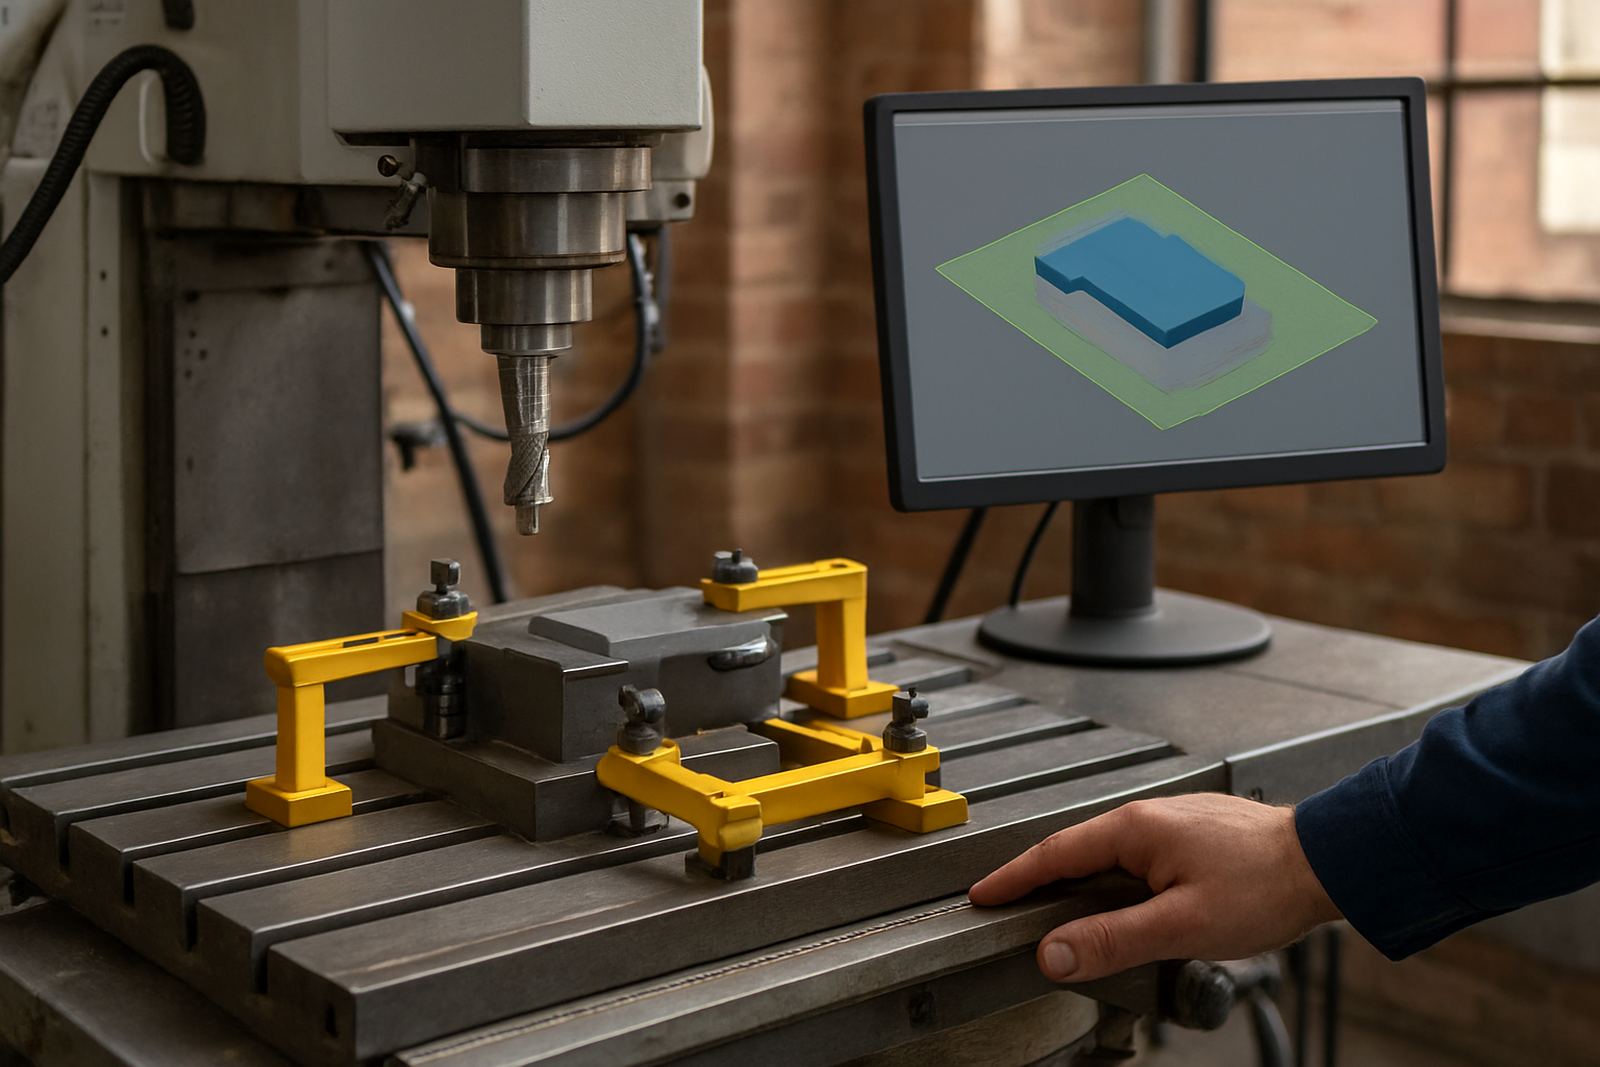
A clean simulation should show more than the cutter moving through air. It should include the stock, the fixture, the clamps, the vice jaws, the tombstone or pallet, and any bolts or tabs that sit above the surface. If your software allows collision checking, use it every time a job changes, even if only the material thickness has changed by 2 mm.
- Model clamps at their real height, not the height you wish they had.
- Check the full approach and retract moves, including rapids between pockets and profiles.
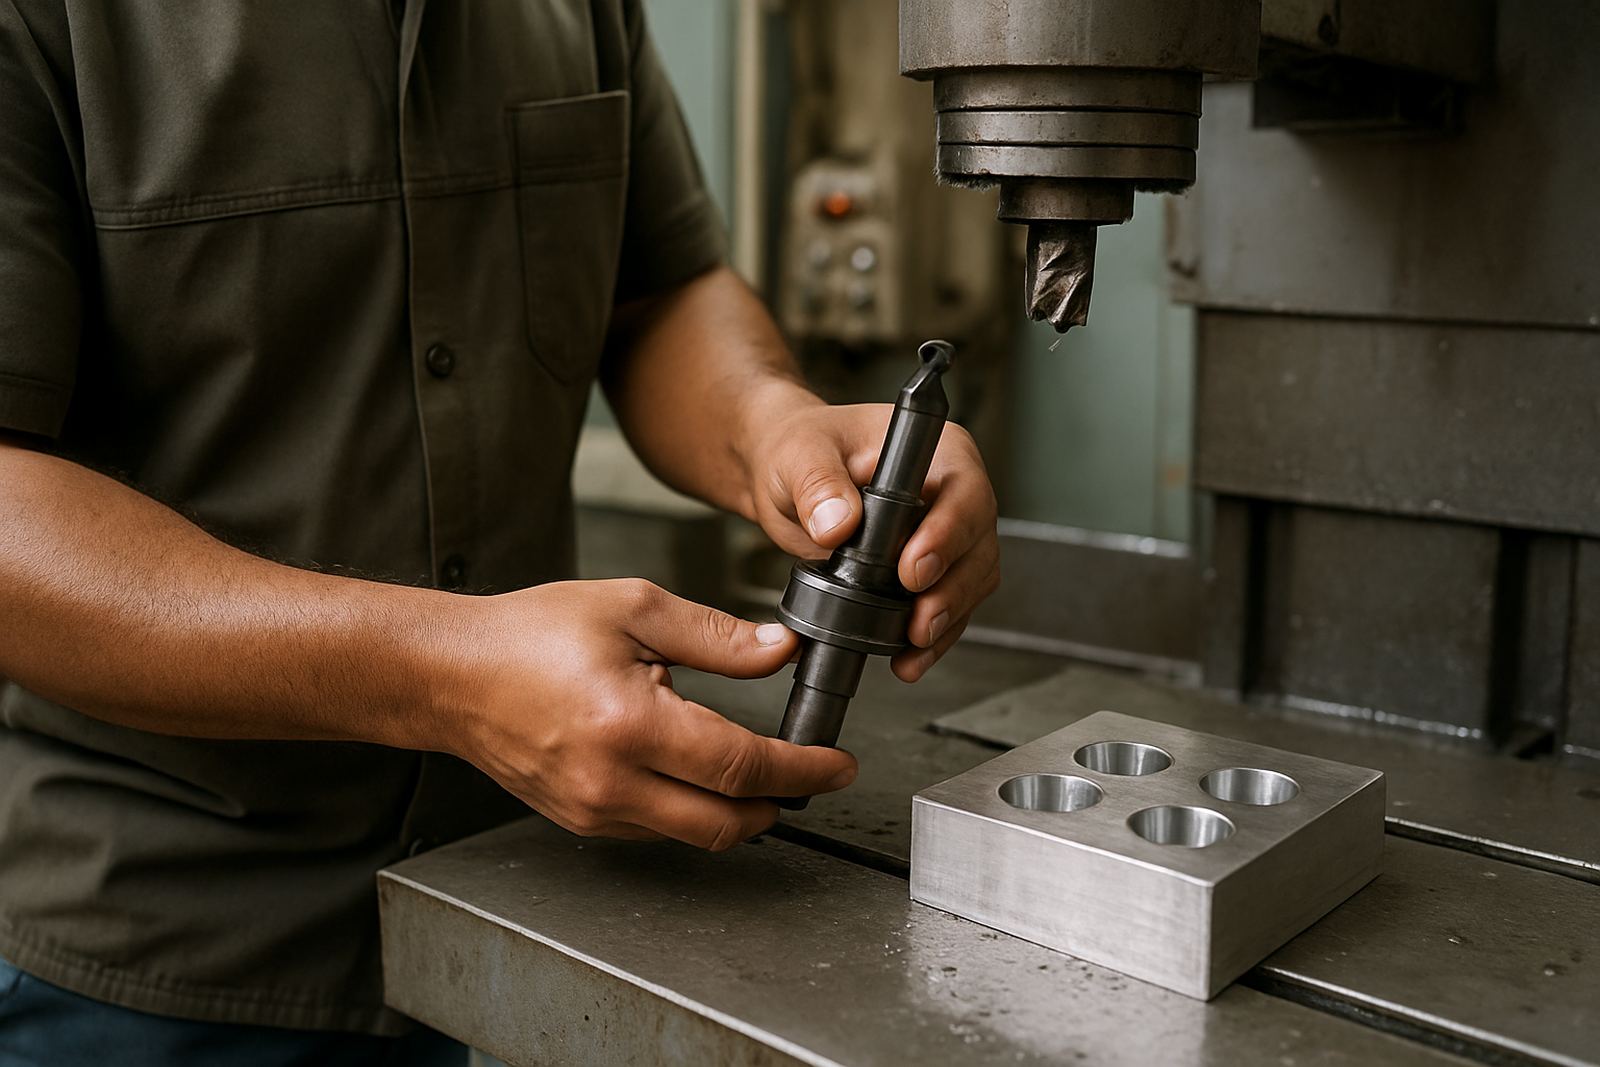
- Look at tool length, holder length and any adapter stack-up.
- Verify the first tool change after a long reach, because that is often where the unexpected strike happens.
- Run a dry simulation again after editing the post, the fixture or the zero point.
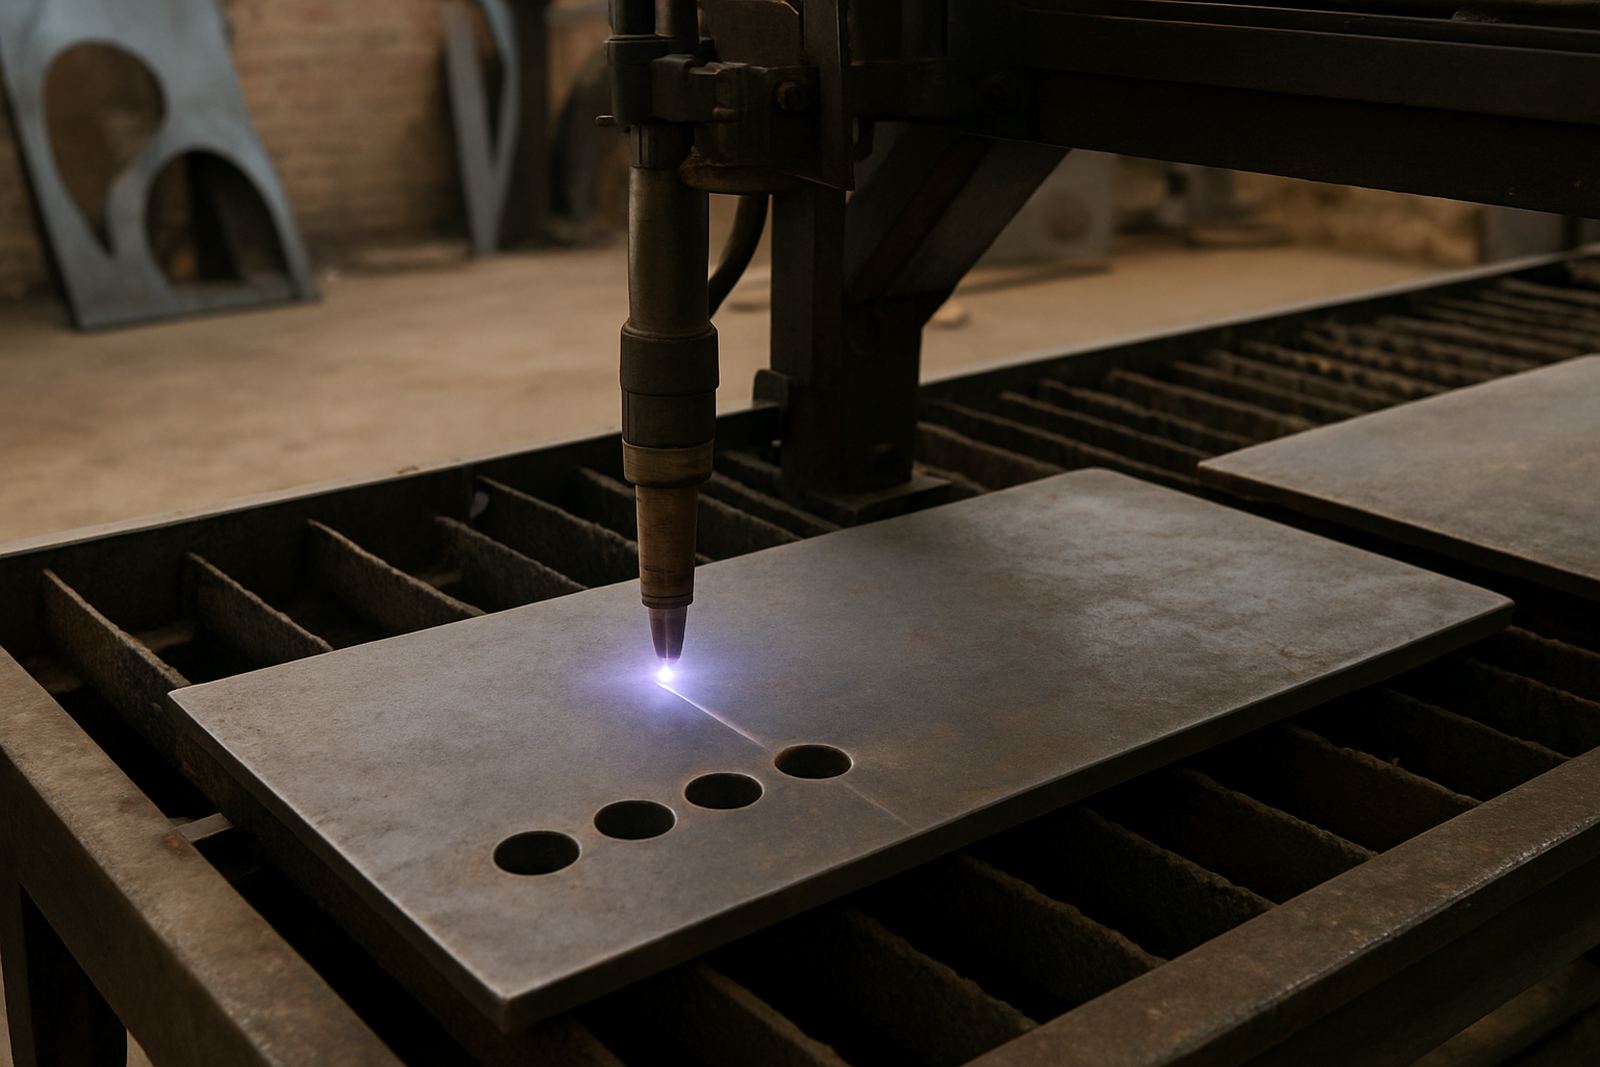
On a plasma table, the same principle applies. The torch must clear slats, hold-downs and cut-off remnants, especially after a previous sheet has warped. On routing jobs, the clamp can look harmless in the top view and still sit directly in the path of a long cutter body. If the simulation only shows the tool centre line, it is not enough.
Fixture habits that keep clamps out of harm's way
Good fixturing starts with placement. Put clamps where the cutter will not need to pass, then plan the job around those anchor points. Where possible, pull the part into a natural corner and use stops rather than adding more clamps than needed. More clamps can improve rigidity, but they also increase the chance of a collision if the programmer does not account for them.
Keep clamp hardware low and tidy. Long studs, loose washers and oversized knobs are a common cause of clearance trouble. If a shop in Vereeniging or the East Rand is running mixed work, it helps to standardise clamp kits by machine type so operators know the maximum safe height before they load a job. Mark the safe zones on the bed or fixture plate and update them when the setup changes.
- Use low profile clamps where possible.
- Trim excess stud length rather than leaving it proud.
- Keep the fixture plate clean so parts sit flat.
- Separate roughing clamps from finishing clamps if the job requires both.
- Replace bent straps and worn bolts before they become a risk.
Post-processors matter more than many shops realise
A good toolpath can still become a bad machine move if the post-processor is wrong. Clearance moves, safe Z heights, tool change positions and retract logic all depend on the post doing its job correctly. If the machine starts a lateral move too low, or returns over the work at the wrong height, a clamp strike can happen even when the simulation looked fine.
This is why post tuning is not just a nice-to-have. A machine in Durban may need different clearance behaviour from a machine in Cape Town because of bed size, axis limits, or a custom fixture arrangement used by that shop. One mill may need a more generous retract after pocketing, while another can safely use a shorter move because the table is smaller and the clamps are fixed lower. The post should match the machine, not guess at it.
It also helps to separate operator habits from programmer assumptions. If the programmer expects the operator to remove a clamp before finishing a contour, that instruction must be obvious on the setup sheet and in the workflow. If not, the machine will do exactly what it was told, and the clamp will lose.
Training the team to spot trouble before the cycle starts
Clamp clearance improves fast when everyone on the floor knows what to look for. A programmer should know the machine envelope. An operator should know the difference between a safe dry run and a live cut. A supervisor should know when to stop the job and ask for a fresh simulation. In shops with shift work, that handover is often where mistakes slip in, especially after load-shedding interruptions or a late restart.
During training, make operators walk the machine before pressing cycle start. Check the clamp height against the longest tool, inspect for loose bolts, confirm the zero point, and make sure there is space for the spindle or torch to pass at every stage. In a busy Johannesburg shop, that five-minute habit can save an hour of recovery and a batch of scrap parts.
- Use a short pre-start checklist for every job.
- Require a first-piece dry run after any fixture change.
- Record any near misses so the same setup is not repeated.
- Teach staff to slow down on the final finishing passes, not only on the roughing passes.
A local example from a medium-size job shop
A Pretoria router shop was cutting nested panels for cabinet work and had a repeat clamp strike on the final toolpath of the day. The issue was not the cutter path itself. It was a combination of a taller-than-usual clamp, a new operator, and a post that allowed a low return move across the table. The part ran fine on the simulation because the clamp height had been entered from memory, not measured.
After a workflow audit, the team changed three things. They measured and stored actual clamp heights, added a mandatory dry run after fixture changes, and adjusted the post so the machine lifted higher before crossing the bed. The next month they had no clamp crashes, and setup time dropped because operators were no longer second-guessing the safe zones.
That is the real value of clamp clearance discipline. It is not about making the machine slower. It is about making the first run correct, so the shop can keep cutting through the day instead of stopping to replace worn tooling or repair a marked fixture.
A simple routine that protects every job
If you want a practical routine, keep it short and strict. Measure the setup, simulate with the real fixture, verify the post, and do a dry run before the first cut. If anything changes, repeat the check. That approach works for routing, milling, turning support work and plasma cutting alike.
For South African shops dealing with mixed power supply conditions, different operators and tight delivery dates, consistency matters more than guesswork. Safer clamp clearance is one of the cheapest ways to protect uptime. It costs a few extra minutes upfront, but it saves cutter life, reduces scrap and gives the team confidence when the machine starts moving.
When the setup is clear and the clearance is proven, the job runs better. That is the whole point.