
Start With the Sheet, Not the Parts
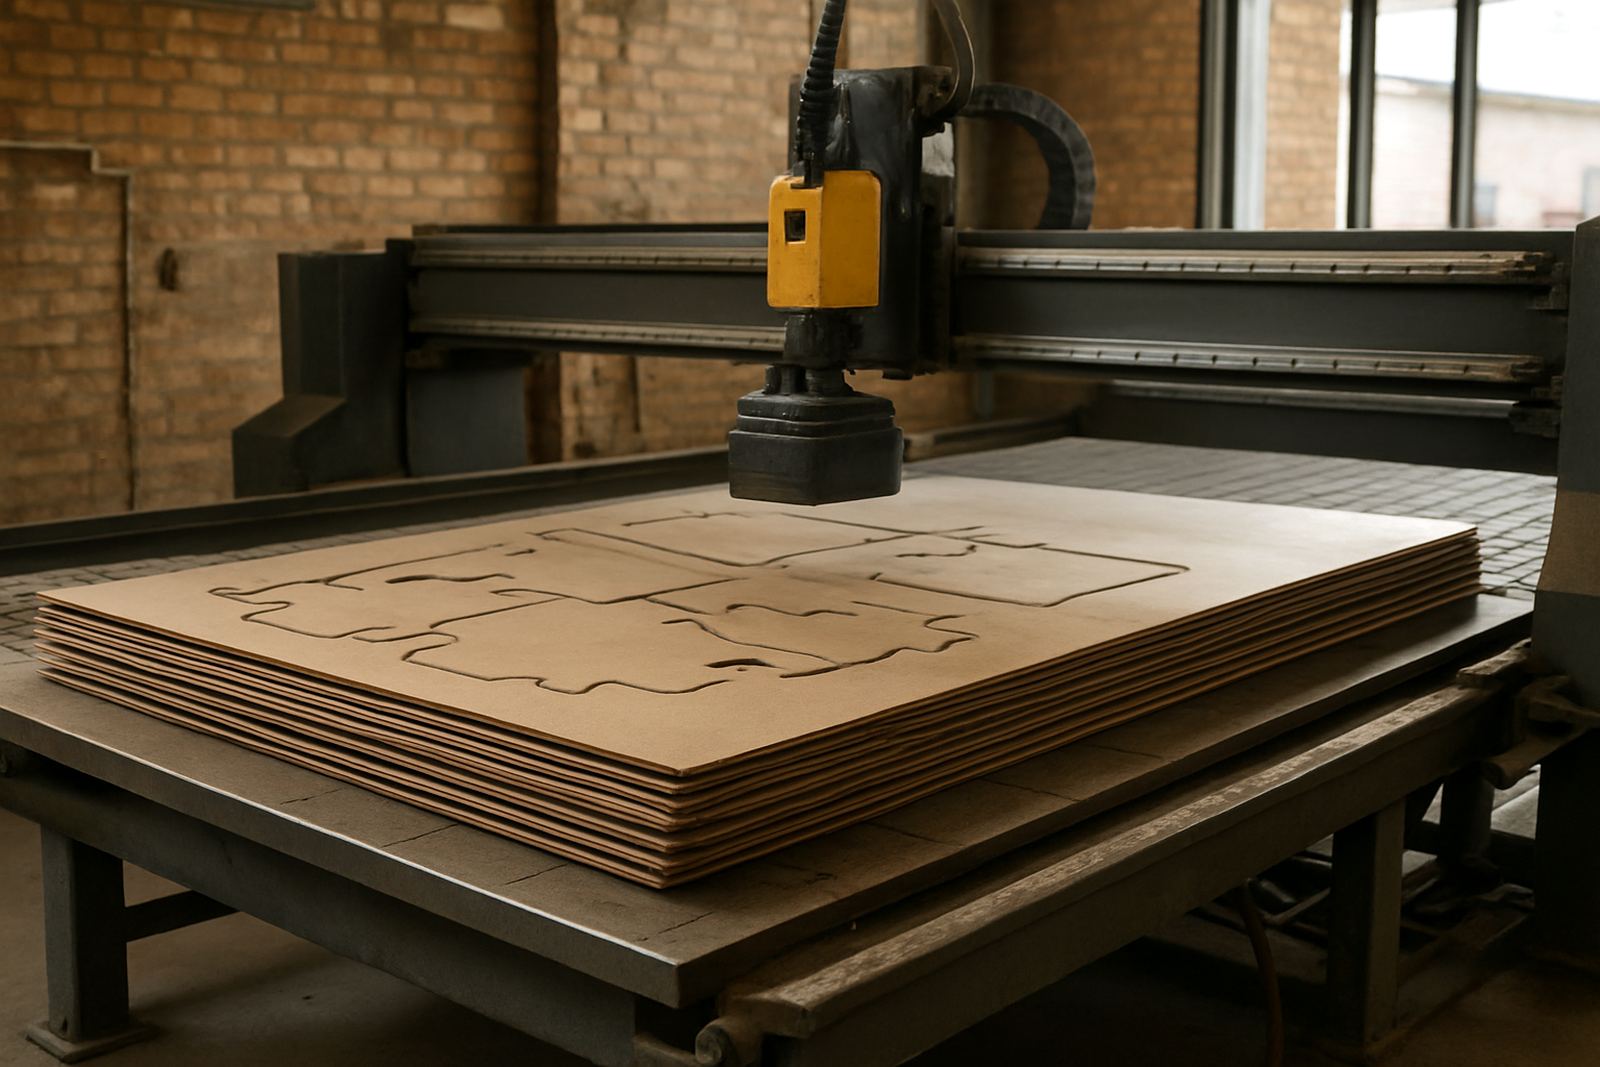
The first mistake many router shops make is to think of nesting as a drawing exercise. It is really a production decision. Before placing the first part, confirm the actual sheet size, usable edge margins, clamp positions and the grain direction if you are cutting board products or veneered material. A 2440 x 1220 mm board is never fully usable once you allow for damaged corners, saw kerf, edge trimming and any hold down area.
On jobs for furniture, shopfitting and signage, the best yield often comes from planning the job around the sheet offcut pattern, not the other way around. If you are cutting in Pretoria on a humid summer morning or in Durban where coastal moisture moves the panel, the sheet can shift slightly during handling. That means the nest should leave enough margin for safe clamping and a sensible lead-in path. A neat nest that fails on the machine is not a good nest at all.
- Measure the true usable area after trimming and clamping.
- Check whether the material has grain, direction or a visible face.
- Keep damaged corners and edge defects out of the active nest area.
Yield Matters, But So Does Part Sequence
Higher yield is useful only if the cutting order still protects the workpiece. A full sheet can be nested almost completely, but if internal parts are released too early they may move, tip or chatter. That creates extra sanding, broken tabs and sometimes scrap. The operator should know which parts are cut first, which are held by tabs, and which should stay attached until the last pass.
A common rule is to cut internal features before external profiles, but even that needs judgement. If a small part is surrounded by larger parts, the larger parts may need to stay intact longer so the sheet remains stable. On thicker MDF or compact board, tool load can rise quickly, especially if the machine has been sitting through load-shedding and the shop is trying to catch up on production. A bad sequence can turn a 20 minute job into a slow one with more tool wear.
- Cut internal pockets and holes before outer profiles where practical.
- Leave larger stabilising parts in place until the sheet has support.
- Use the cutting order to protect both the part and the tool.
Tabs Are a Production Choice, Not an Afterthought
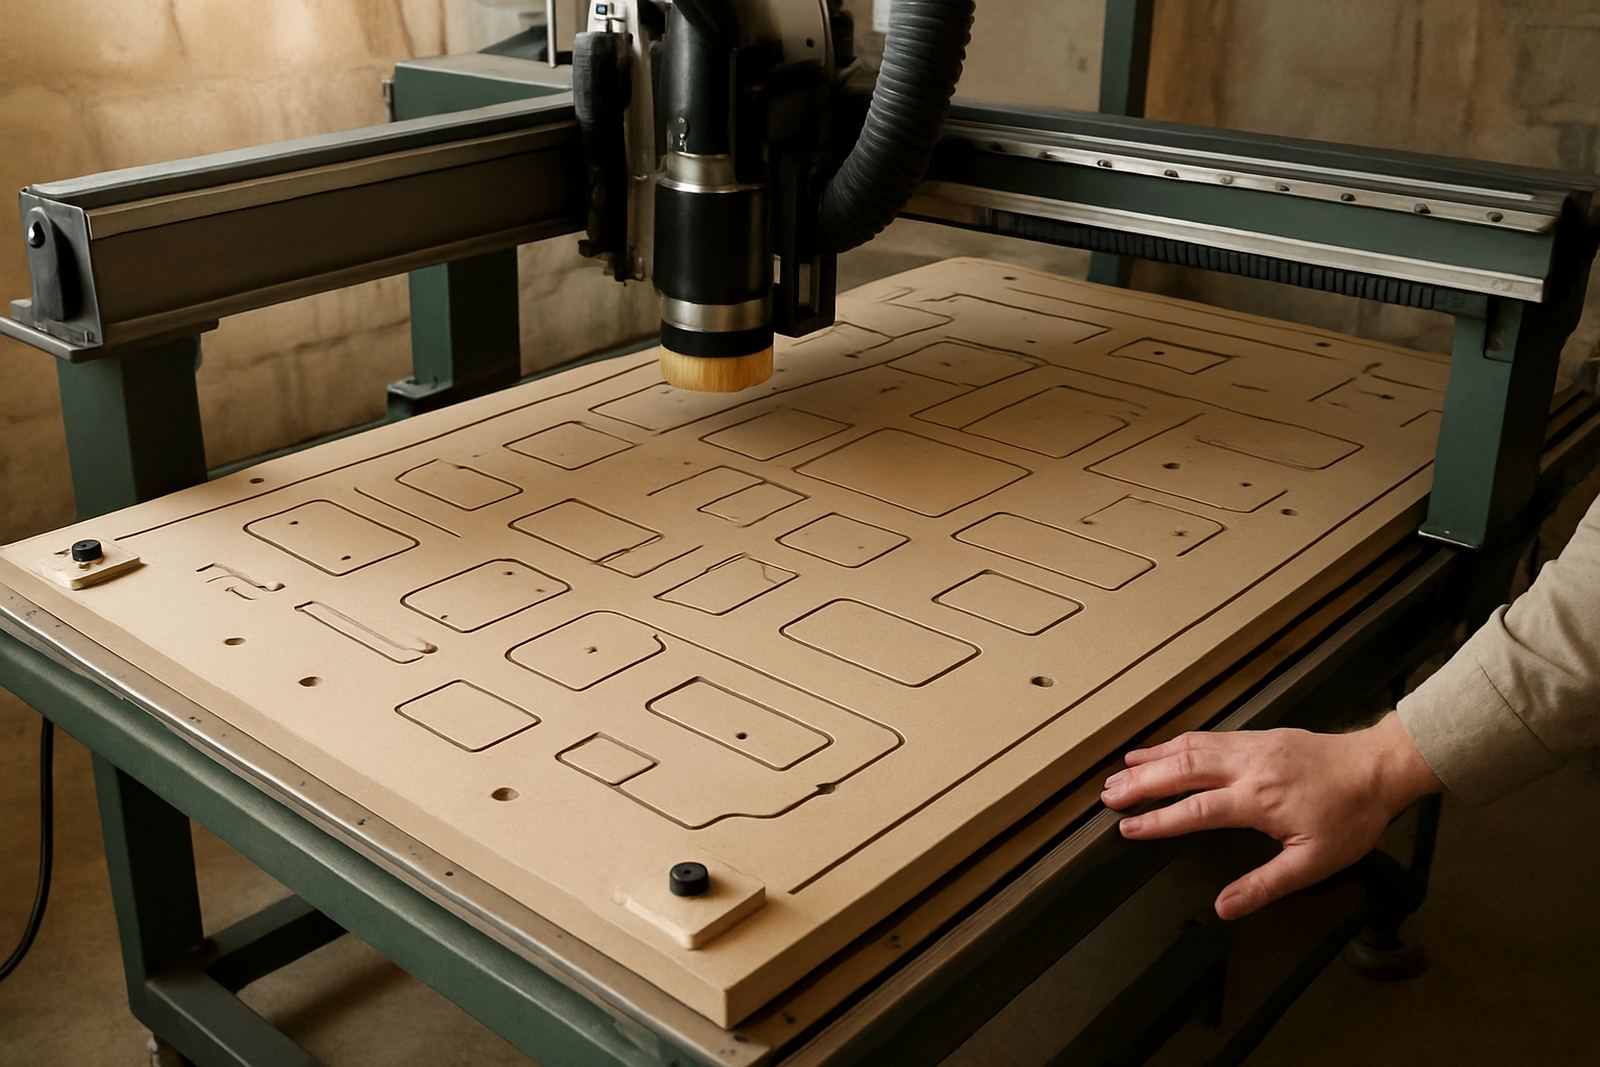
Tabs are there to keep parts in place, but they must suit the material and the end use. Too few tabs and the part shifts. Too many tabs and the operator wastes time snapping and sanding. In a busy shop, that cleanup time can be the difference between finishing an order before the courier arrives or missing the delivery window.
For thin boards, short tabs placed in low-visibility areas often work best. For heavier parts, use stronger tabs and think about where the break-out marks will land. If the part is going to a sprayed finish, the tab position matters less than on raw laminate or exposed edge banding. It also helps to keep tabs away from corners that are likely to chip. That small choice saves time later, and keeps the edge cleaner.
- Use tabs to support the part, not to rescue a poor cutting order.
- Place tabs where they are least visible or easiest to clean.
- Match tab size to the weight and thickness of the material.
Tool Paths Should Match the Shop Floor
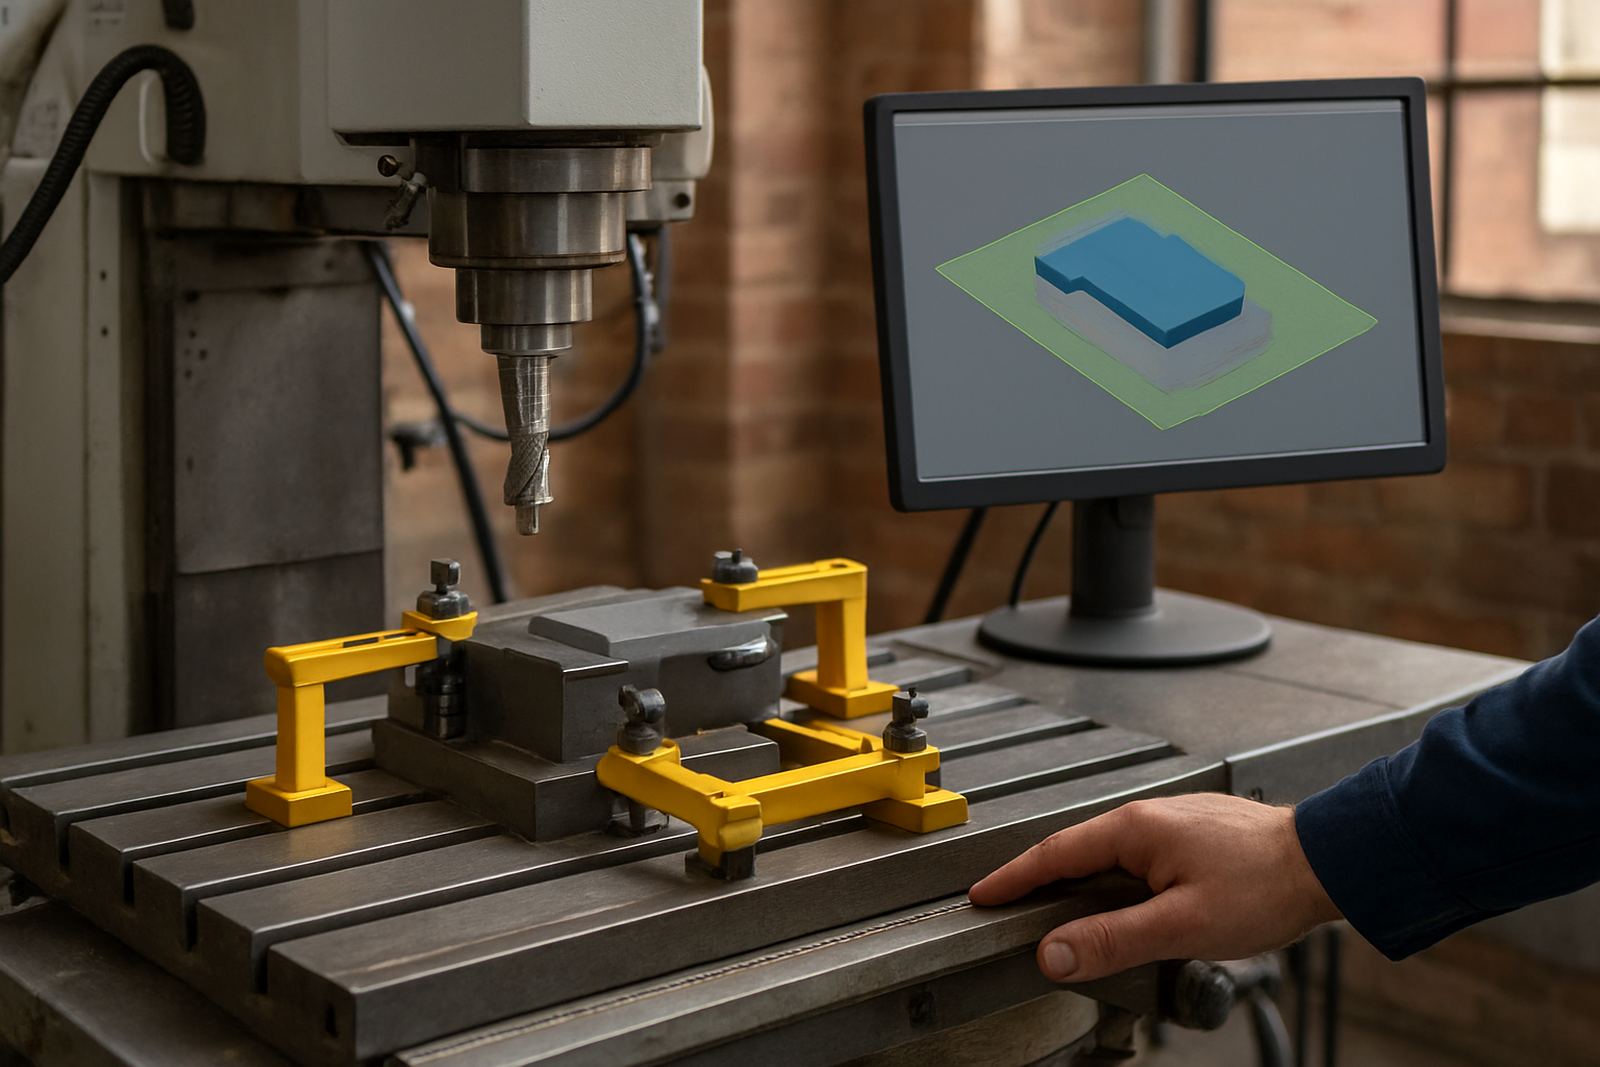
Good nesting is only useful if it suits the machine, the vacuum hold down and the operator’s workflow. A router that is strong on long straight cuts may not enjoy unnecessary rapids across the sheet. A plasma table has different needs again, with lead-ins, kerf width and heat distortion to consider. The nest should respect those machine realities.
For example, if the shop runs a mix of routing and drilling, group the operations in a sensible order so the machine is not bouncing from corner to corner. This is especially useful when an operator is supervising more than one machine. On some jobs, a slightly less dense nest can be faster overall because the tool path is simpler and the risk of collision is lower. That is the kind of trade-off many shops only learn after a few expensive mistakes.
- Avoid unnecessary long travels across the sheet.
- Group similar operations to reduce machine movement.
- Think about vacuum zones, clamps and hold down strength before finalising the nest.
Local Material Supply Changes the Nest
In South Africa, material availability can affect nesting more than people expect. Board thickness may vary slightly from one batch to the next, and some suppliers pack sheets more tightly than others. When a job is planned for a full week and the panel arrives a few millimetres out, the nest may need a quick adjustment. Shops in Johannesburg, Vereeniging and the East Rand often see mixed material batches when buying in quantity, so it pays to verify stock before programming the full run.
Humidity also matters. In coastal areas like Durban, sheet goods can move more during storage and handling. That does not mean the job cannot be nested tightly, but it does mean tolerance stacking should be checked early. If a door panel, cabinet side or sign blank needs an exact fit, allow for the material behaviour instead of assuming the board on the drawing is the board on the floor.
This is where a workflow audit helps. A small change in sheet allowance, cutter selection or edge clearance can improve yield without risking fit-up. That is usually better than forcing a nest to look perfect on screen while creating problems on the machine.
A Centurion Example: One Sheet, Three Decisions
A Centurion joinery shop had a batch of cabinet components to cut from 18 mm board. The first version of the nest looked efficient because it packed parts tightly across the full sheet. But the operator noticed that the internal shelves were being released before the larger sides had enough support, and the tabs on a few smaller parts were leaving marks on visible faces. After a quick review, the nest was revised with a slightly wider margin, a different cutting order and tab positions moved to less visible edges.
The result was not just cleaner parts. The machine ran more predictably, the offcut shape improved for the next job, and the finishing team spent less time cleaning break-out marks. That is the practical side of nesting. It is not about making the screen look busy. It is about making the sheet, machine and finishing process work together.
If your shop is still treating nesting as a final step, it is worth looking at it earlier in the process. The best nests usually come from someone who knows the material, the cutter and the job deadline, not only the drawing. One change in order or tab placement can save both time and board.