
Start With The Material You Actually Buy
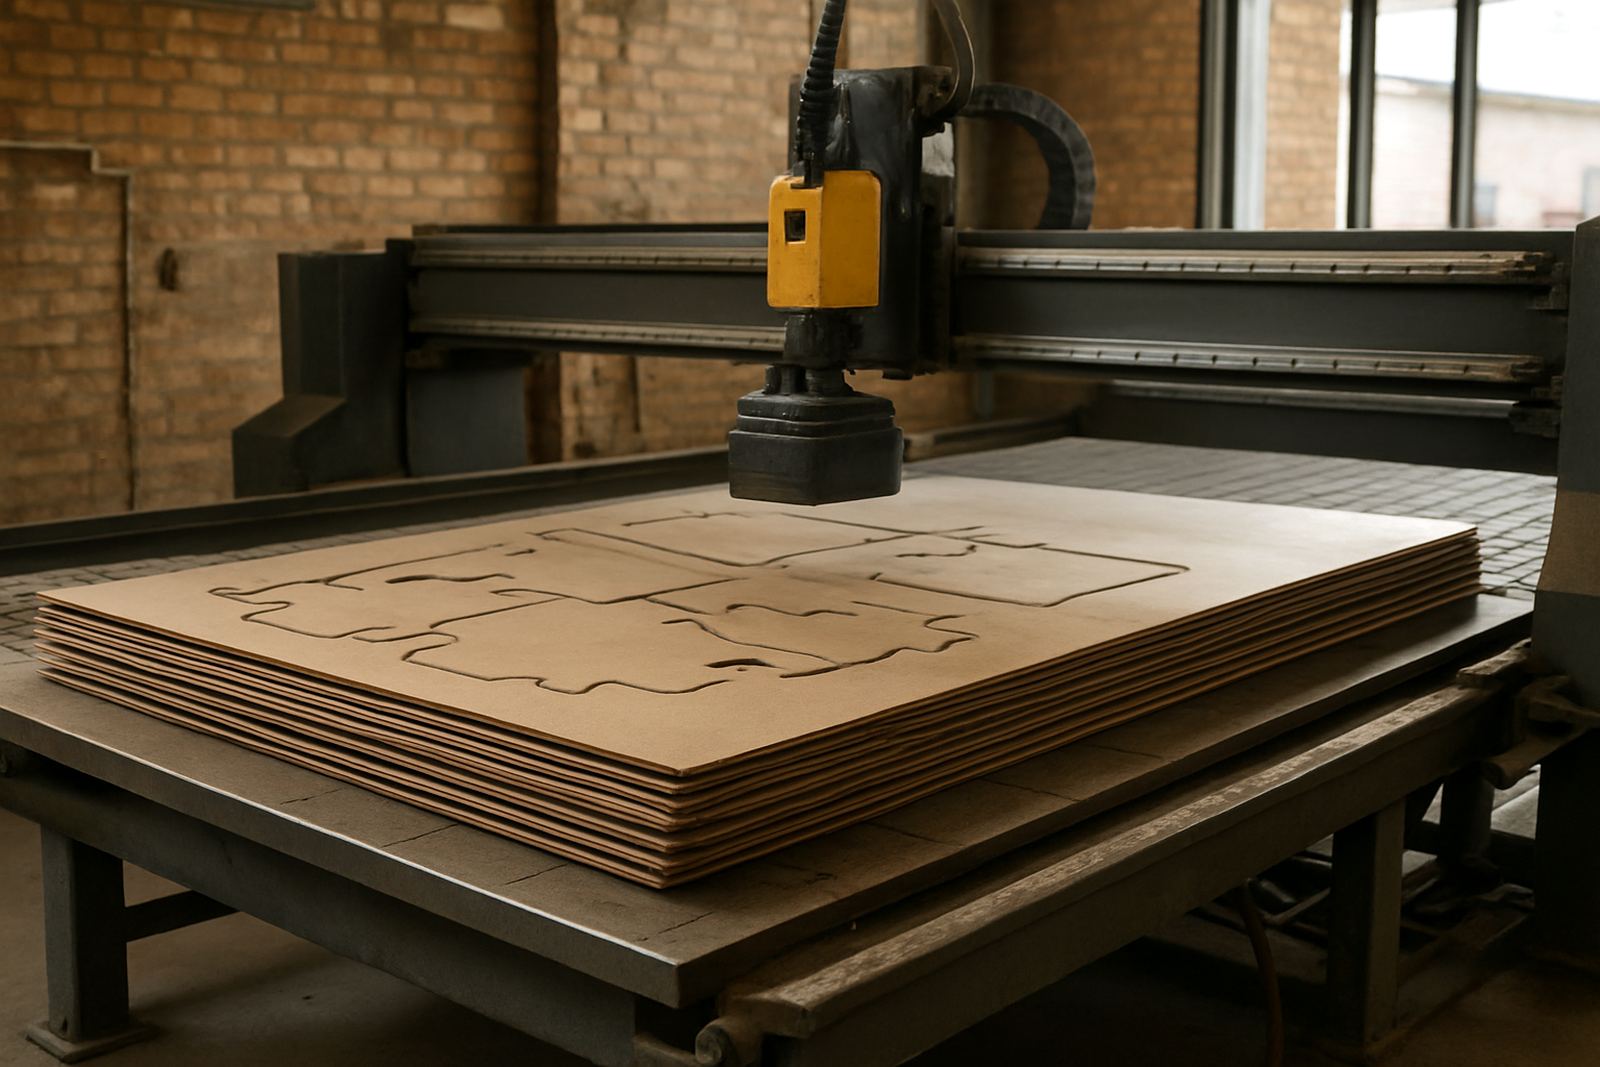
Plate nesting starts long before the first toolpath. In South Africa, many shops buy sheet or plate in standard sizes and thicknesses that suit the machine table, the crane capacity, and the supplier's delivery pattern. If your material arrives on a flatbed and has to be manhandled into position, your nest should respect that reality. A perfect yield on paper means very little if the operator cannot safely remove the parts or if the plate warps during a long job.
For routing, milling, turning support plates or plasma work, the first question is always the same: what thickness, what finish, and what is the end use of the parts. A mild steel bracket for a farm gate does not need the same hold strategy as an aluminium panel for an electrical enclosure. The nesting pattern should follow the job, not the other way around.
- Confirm sheet size before programming, especially when supply varies between 1 220 x 2 440 mm and larger format plate.
- Check flatness and any edge damage before loading, because a bowed sheet can throw off the whole plan.
- Match the nest to the final use, whether the parts need clean edges, tight fit-up or quick turnaround.
Yield Matters, But So Does Heat
Shops often push nesting too tightly because every extra part feels like free money. The problem is heat build-up, especially on thicker plate or when cutting dense clusters. If the torch, spindle or cutter stays in one area for too long, the sheet can move, corners can lift and small parts can tip. That leads to dross, a rough edge and more post-processing than planned. A better nest often leaves a little space, and that small sacrifice can save an entire sheet.
In plasma work, heat affected zones can grow fast on close-packed parts. In routing and milling, chips need somewhere to clear and coolant needs access. Where the nest is too tight, your cut path becomes crowded and the machine spends more time fighting the job than finishing it. We see this in Durban especially, where coastal humidity can also affect storage and handling. A plate that sat overnight in a warm room may behave differently by morning.
- Leave enough web and island spacing for the material and machine type.
- Stagger the cut order so the table does not release all the heat in one area at once.
- Use more lead-ins and balanced cut paths on larger sheets to spread the load.
Plan For The Way Parts Are Removed
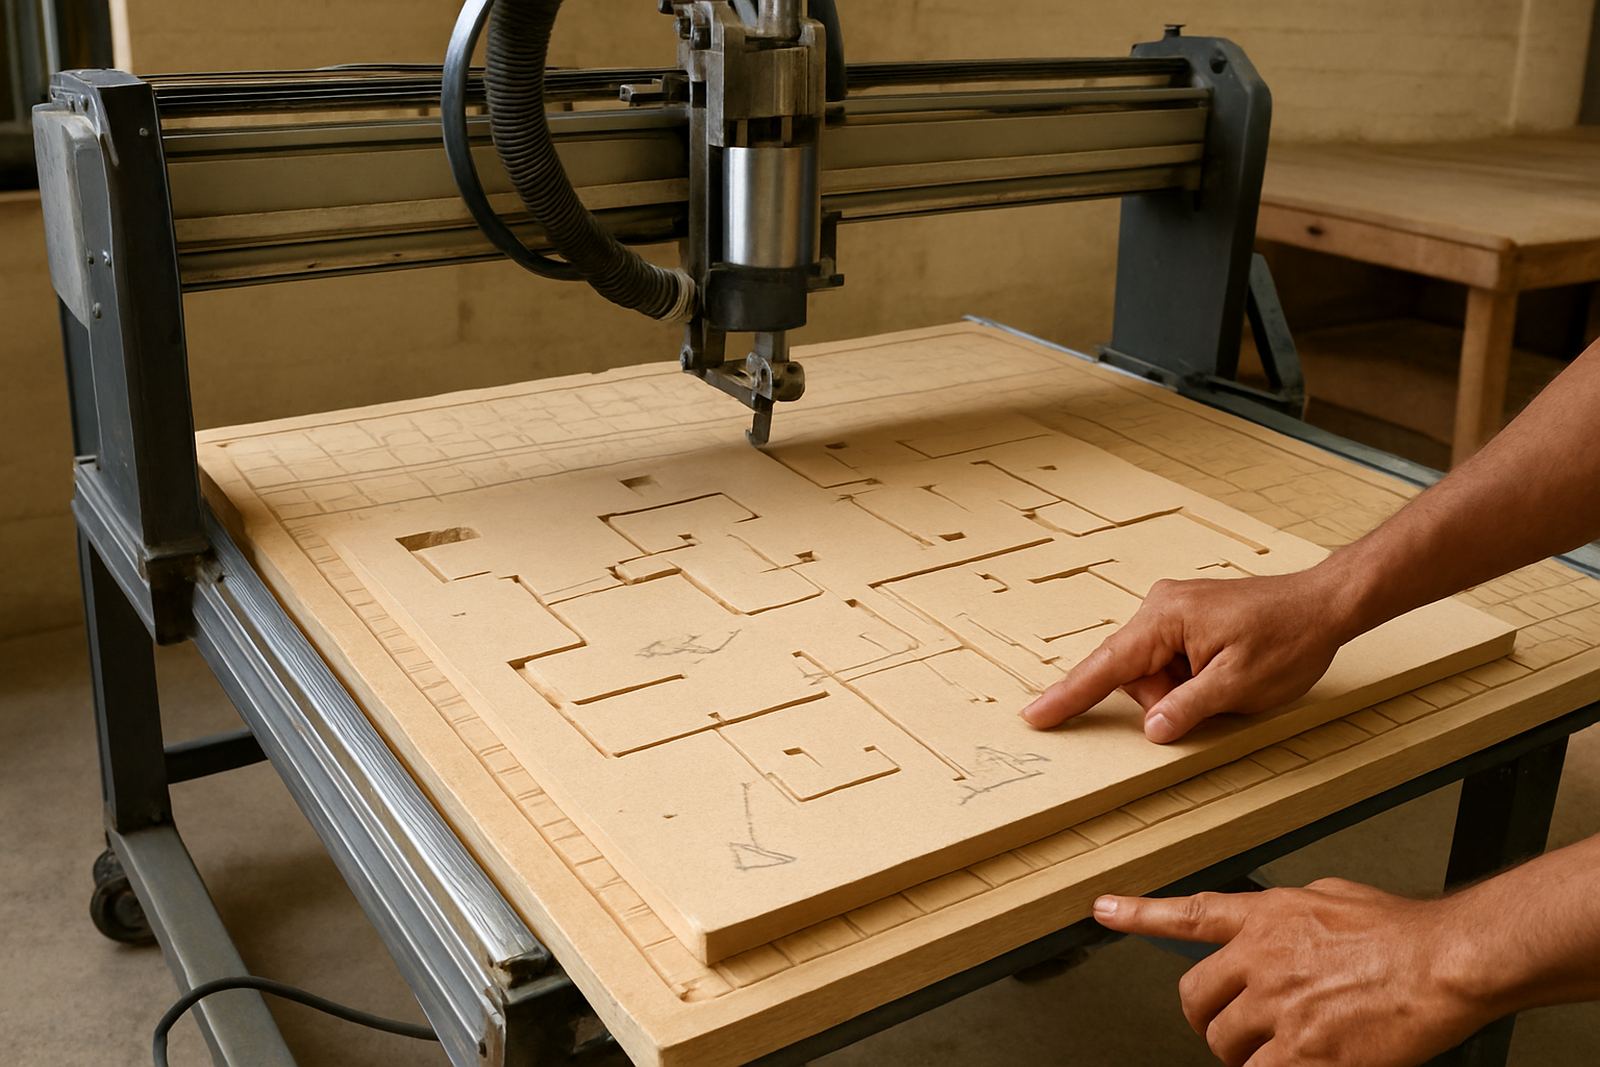
A nest that looks clever on screen can become awkward on the floor. If parts are tiny, nested too deep, or supported by awkward tabs, the operator may spend more time prising them out than cutting them. That slows production and can damage finished edges. Good nesting gives some thought to handling, stacking and sorting. It also helps when the shop is short staffed or running loadshedding backup power, because the team needs jobs that can be paused and resumed without confusion.
For a shop in Centurion doing a mixed run of machine panels and mounting plates, it may be smarter to nest by part family rather than forcing every shape into one sheet. That makes the job easier to label, inspect and pack. It also helps if the same sheet needs to be moved between laser, plasma and deburring steps. The aim is to make the nest practical from first cut to final count.
- Group parts by thickness and finishing requirement where possible.
- Keep enough space for clamps, vacuum zones or fixtures if the machine needs them.
- Place smaller parts where they can be removed without damaging larger ones.
Tabs, Bridges And Holding Strategy
Holding strategy is one of the most overlooked parts of nesting. A part that moves during the final cut can spoil the whole sheet. Tabs, bridges and micro joints all have a role, but they need to suit the machine and the material. Too few tabs and the part shifts. Too many and the finish becomes tedious. The right balance depends on whether the shop is cutting aluminium, steel, stainless or non-ferrous plate, and whether the operator wants quick release or cleaner edges.
On a plasma machine in Vereeniging, for example, a nesting plan for mild steel signage parts may use stronger tabs on larger outside contours and lighter holding on internal cut outs. That helps control movement when the heat starts to build. In milling, especially on thinner plate, the strategy may change to avoid chatter and vibration. A clean nest is useful, but a stable nest is what keeps the job on track. Small changes here can save a lot of rework.
- Use tabs only where needed, and place them where cleanup will be easiest.
- Keep bridge positions consistent so operators know what to expect.
- Review the last job before repeating the same holding setup, because wear and heat can change the outcome.
Use The Shop Floor To Improve The Nest
The best nesting habits come from the people who cut, sort and finish the parts every day. A programmer in Johannesburg may focus on material yield, while the operator notices that a certain shape always tips as it leaves the sheet. That feedback is valuable. When it is built into the nesting process, the next job runs smoother and the parts are easier to handle. This is where hands-on training pays off. A few simple changes in lead-in placement, part direction or label position can make the whole batch easier to manage.
Workflow audits often show the same pattern: a shop is using a technically sound nest, but not a practical one. Maybe the parts are too close to the edge, maybe the machine is taking a long time on the same area, or maybe the numbering makes packing slow. A better process looks at the full chain from licence setup to operator training, then adjusts the nest to fit the real production flow. It is not fancy, just sensible.
- Ask operators where parts are hardest to remove or sort.
- Review scrap rate and rework rate, not only material yield.
- Test one or two changes on a smaller run before applying them to production sheets.
A Pretoria Example: Better Nesting On Mixed Plate Jobs
A small Pretoria jobbing shop handling gate plates, machine covers and bracket sets had been nesting as tightly as possible to save material. The result was uneven cutting, more edge cleanup and a lot of time spent separating parts. During a workflow review, the team changed the nesting rule set. Larger parts were spaced a little wider, heat-heavy cuts were distributed across the sheet, and fragile items were moved away from the main heat path. The shop gave up a small amount of yield, but cutting time became more predictable and the crew spent less time reworking edges.
That kind of result is common. Better nesting is not about chasing the last square millimetre. It is about getting the job off the machine in good condition, with less stress on the operator and less waste in the rest of the process. For shops across South Africa, from Cape Town to Durban, the practical answer is usually the same: nest for the machine, the material and the people who must live with the result.
When To Review Your Nesting Rules
Nesting should be reviewed whenever the machine, tooling or workload changes. A new table size, a different material supplier, or a switch from short runs to larger batches can all change the best layout. So can a change in power stability, especially where backup systems affect machine behaviour or warm-up times. If you are seeing inconsistent edge quality, more heat distortion or slower unloading, the nest is often the first place to look.
For CNC shops that want better consistency, the strongest gains usually come from three things: clear machine setup, reliable post-processor output and operator training that reflects the actual job mix. When those three line up, nesting becomes easier to control and easier to repeat. It is not about making every sheet identical. It is about making each sheet practical, cuttable and worth the time you put into it.