
Why roughing and finishing need different intent
Roughing is about removing material quickly and safely. Finishing is about accuracy, surface quality and getting the part ready for inspection or assembly. If one toolpath is expected to do both jobs, the operator usually ends up with extra wear on cutters, more vibration and a part that needs rework.
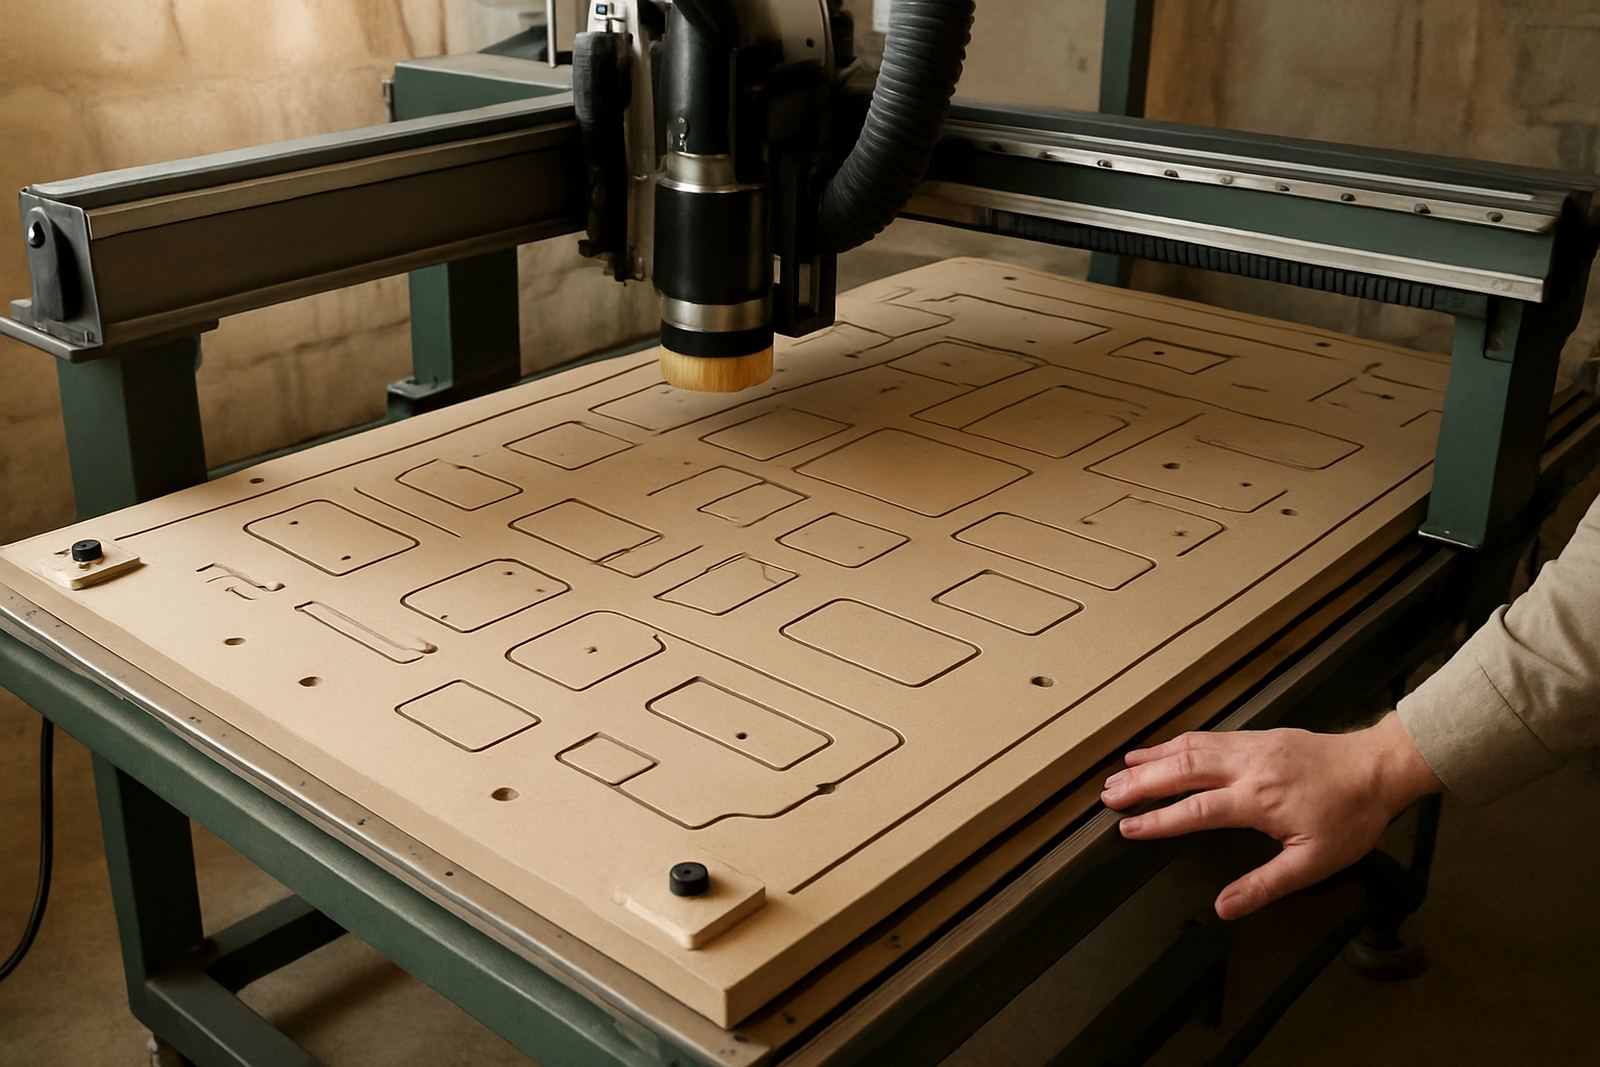
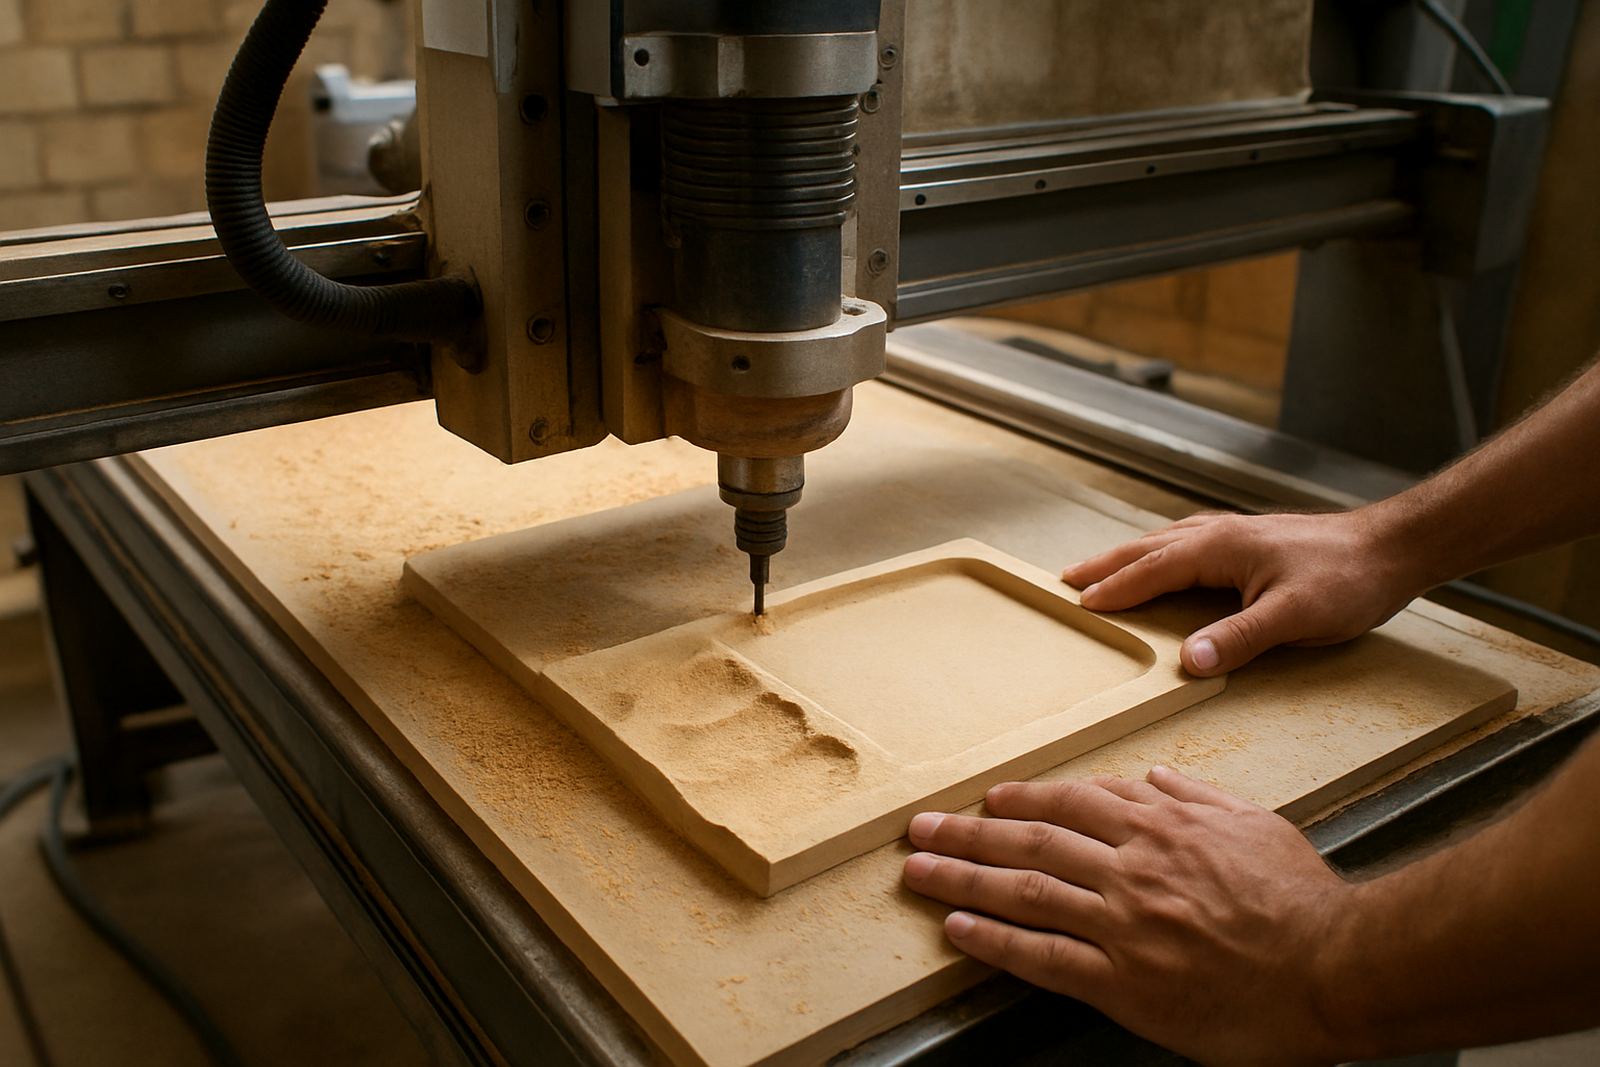
On a CNC router in Pretoria, for example, roughing may clear the bulk of a panel pocket in heavy passes, while finishing comes back with a lighter cut to clean the wall and floor. On a turning centre in Durban, roughing focuses on chip control and stable stock removal, then finishing takes a smaller bite for size control. The targets are different, so the settings should be different too.
What roughing should achieve on the shop floor
Roughing should clear material fast, protect the machine and leave a predictable amount of stock for the next operation. That stock allowance matters because finishing needs something consistent to work with, otherwise tool pressure changes and final size starts drifting.
- Use a feed and speed that keeps chip load sensible for the material
- Leave even stock for finishing, not random ridges and heavy leftovers
- Control heat and chatter before they start marking the part
- Choose a strategy that suits the machine rigidity and spindle power
- Keep cycle time down without forcing the tool into unnecessary load
In South African workshops, especially where power interruptions and load shedding already disrupt production, roughing should be reliable and repeatable. If the roughing pass is too aggressive, a restart after a stoppage can leave a bad witness mark or move the job out of tolerance.
What finishing must protect before the part leaves the machine
Finishing is where the job earns its quality. The cutter should skim the final shape with stable engagement, controlled deflection and the least possible marking. That is why finishing often needs a different tool, smaller stepovers and a calmer strategy than the roughing pass.
For shops around Johannesburg and the East Rand, where customers often want tight turnaround on moulds, sign components or metal parts, finishing has to deliver a surface that does not need extra handwork. A good finishing pass should reduce polishing, filing and re-clamping. It should also support inspection, because a consistent finish makes dimensional checks easier and more honest.
- Use lighter cuts and smaller stepovers to protect the surface
- Keep tool deflection low, especially on long reach tools
- Match finishing strategy to the material and surface requirement
- Plan for a clean exit so edges are not marked at the end of the pass
- Leave enough stock during roughing for a stable final cut
When to seperate the two and when to combine them
Not every job needs a full split, but most commercial work benefits from it. Separate roughing and finishing when the part has visible faces, tight tolerances, tricky corners or a material that moves under heat. That includes aluminium plates, mild steel parts, acrylic panels and hardwood jobs where tearout can become a problem.
Combining the stages can work on very simple parts, short runs or prototypes where speed matters more than a cosmetic finish. Even then, it is worth checking whether one toolpath is making the cutter work harder than it should. If the machine is small, or the spindle is already close to capacity, separation usually gives better control and less scrap.
A good rule is this: rough fast, finish light. The middle ground is where many shops lose time because they try to force one setting to do both jobs and end up slowing the machine anyway.
A practical Centurion example from routing to finishing
A Centurion workshop making signage panels for a client in Vereeniging might rough out twenty pockets in 16 mm board first, then run a finishing pass on the visible faces. If the roughing leaves a neat 0,3 mm allowance, the finishing tool has a consistent job and the edge quality stays even across the batch.
Now compare that with a Cape Town plasma shop cutting brackets from sheet steel. Roughing in the plasma sense is really the main cut, but the finishing idea still applies: cut sequence, lead-ins, kerf control and edge clean-up all affect the final result. The same thinking helps in milling and turning too. Different machines, same principle.
- Set a stock allowance that suits the final pass, not just the rough cut
- Check tool wear before finishing runs on a full batch
- Watch for heat build-up on coastal jobs where humidity and corrosion can add problems
- Keep one clean setup for the finish so the part is not shifted twice
How better post-processors and training support both phases
Good strategy in CAM is only half the job. The posted code must suit the controller, the machine axes and the way your team actually runs the shop. That is where custom post-processors, post tuning and hands-on training make a real difference. If roughing and finishing are not output cleanly, operators spend too much time editing code at the machine and confidence drops.
With proper machine onboarding, a programmer can build a workflow that separates roughing and finishing by design, not by accident. Operators then know why the first pass is aggressive and why the final pass must stay calm. It helps new staff, it helps during first job support, and it keeps production steadier when a shop is under pressure to deliver. Even a small typo in a toolpath comment can cause confusion, so the handover needs to be clear and practical.
For shops across Pretoria, Johannesburg, Durban and Cape Town, the aim is the same: less guessing, fewer re-cuts and better parts leaving the machine first time.