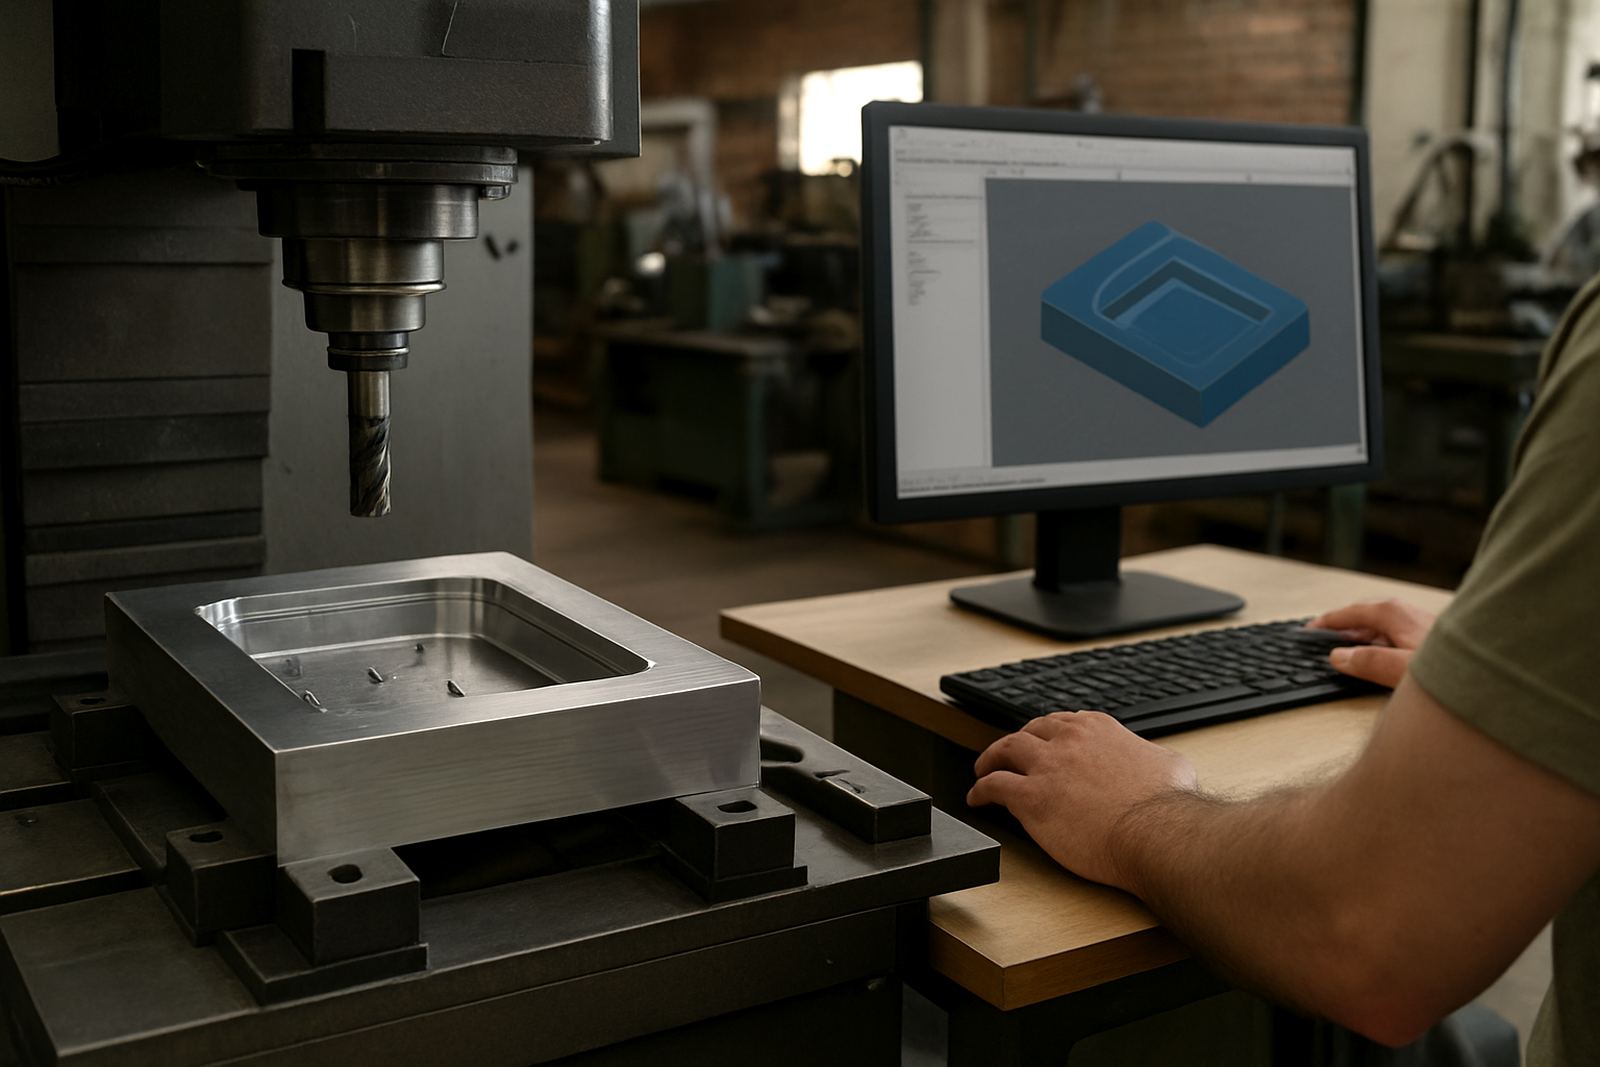

Why Stepover Decides More Than Just Surface Lines
Stepover is the sideways distance the cutter moves between passes. In plain terms, it decides how much of the surface each pass leaves behind, and that affects both the look of the part and how long the job takes.
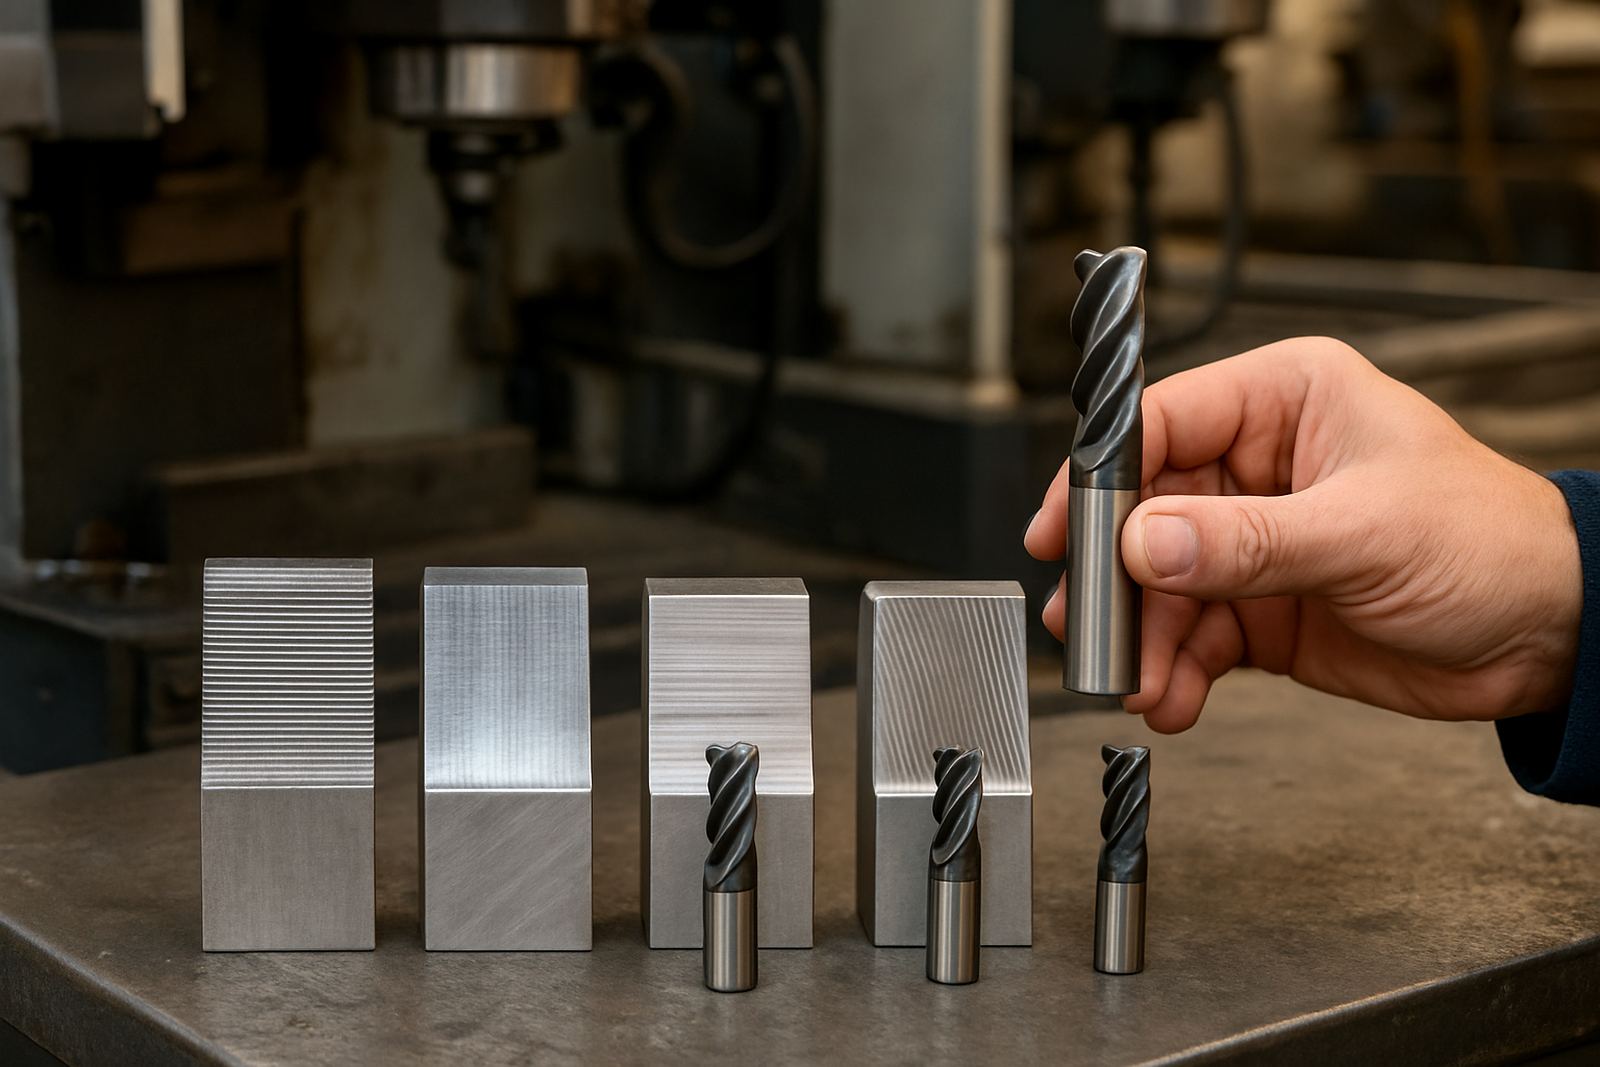
A small stepover gives a finer finish because each pass overlaps the last one more closely. A larger stepover removes more material per pass so the cycle is shorter, but the surface scallops are bigger and the load on the cutter rises. That trade-off is where many CNC shops lose time or wear out tools early.
Match Stepover To The Job, Not To Habit
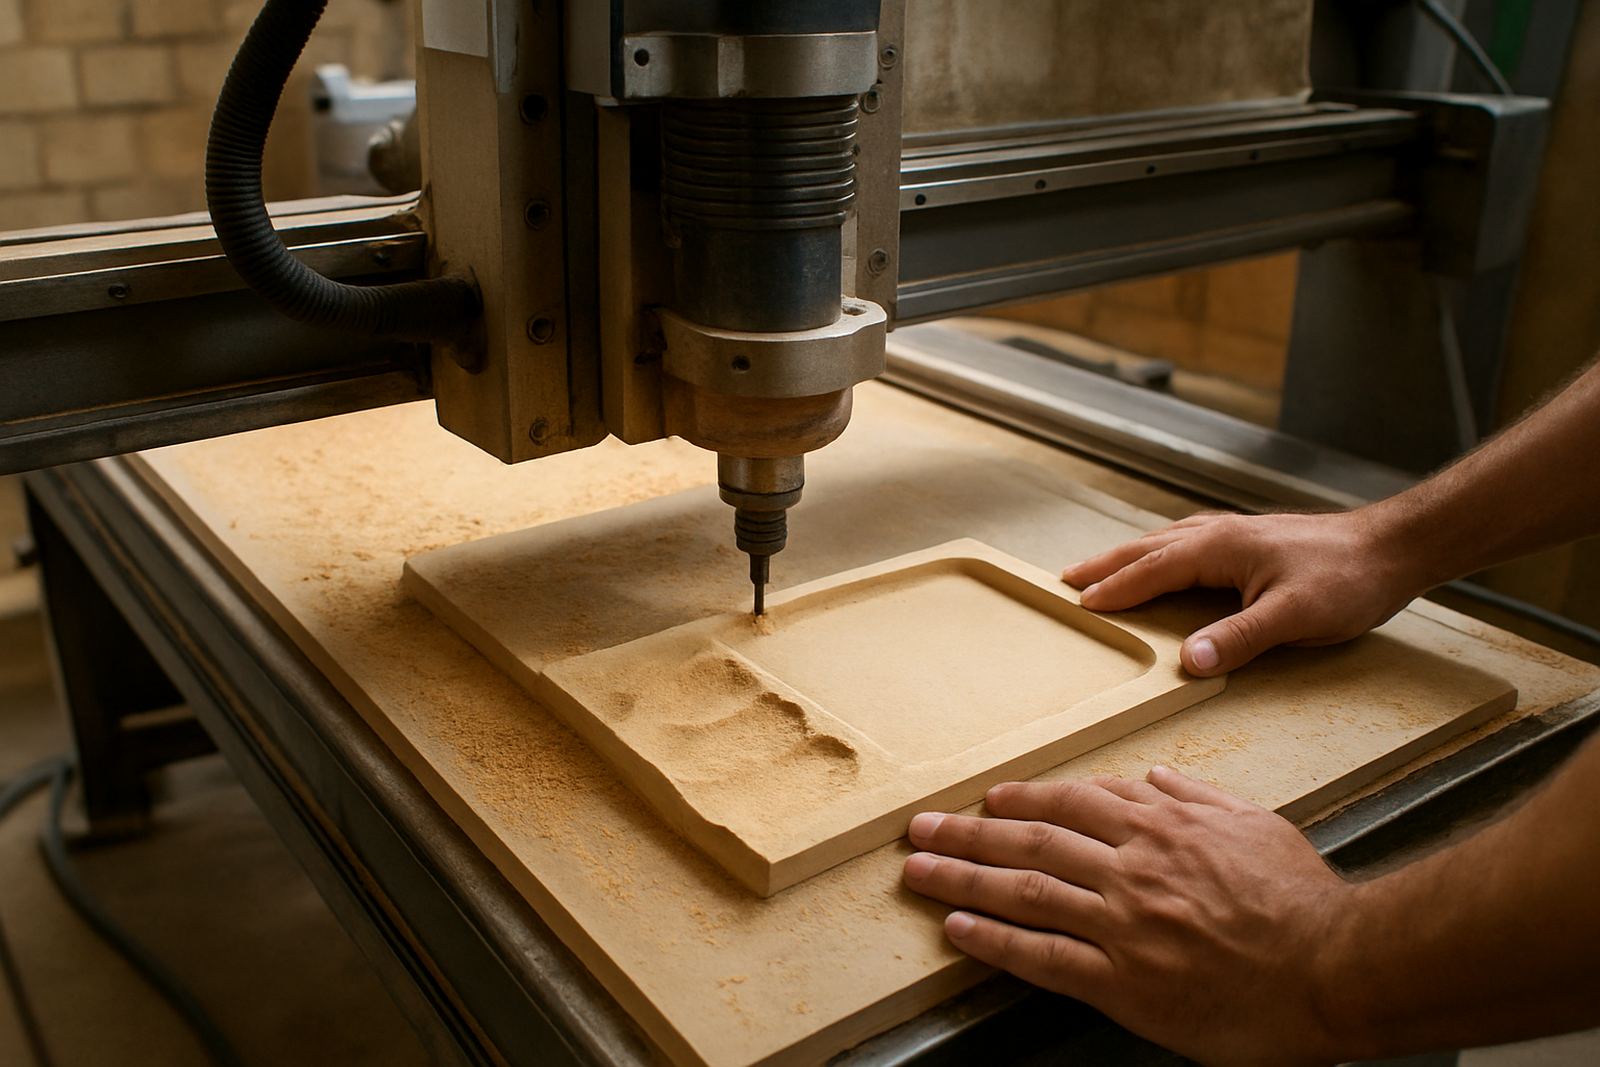
There is no single best setting for every material or cutter. A 6 mm ball nose finishing an MDF mould, a 10 mm end mill clearing mild steel, and a roughing cutter in aluminium all need different treatment. Shops often copy an old programme and hope it will suit the next job, but that usually leads to extra sanding, edge cleanup or tool marks.
- For finish passes, keep stepover tight when the customer expects a smooth visible surface.
- For roughing, use a wider stepover to clear stock faster, but watch spindle load and chip evacuation.
- For thin walls or fragile material, reduce stepover to keep cutting forces down.
- For heavy cuts in steel, avoid pushing a wide stepover just to save time if it shortens tool life.
How Stepover Changes Finish Quality
Surface finish is not only about feed and speed. The stepover sets the scallop height, which is the little ridge left between passes. If the stepover is too wide, those ridges become visible, especially on curved surfaces, mould cavities and 3D contours. A part that looks fine on the screen can still need hand finishing if the stepover is too aggressive.
On aluminium, the finish can look acceptable at a wider stepover because the cutter leaves a cleaner edge. On timber, MDF and foam, a coarser stepover may hide less than you think once paint or sealer goes on. In humid coastal areas like Durban and Port Elizabeth, swollen fibres and moisture can make a poor finish look even worse after processing.
Cycle Time Savings Have A Limit
It is tempting to open up the stepover as much as possible to save machine time. That can work on roughing passes, especially when the goal is to remove bulk material before a finish pass. But once the stepover gets too wide, each pass leaves too much material behind and the cutter starts rubbing rather than cutting cleanly.
That rubbing can create heat, poor chip control and a rougher surface. In a shop running through load-shedding windows, a programme that seemed faster on paper may become expensive if it causes restart issues, tool wear or extra rework after power is restored.
- Use a wider stepover for stock removal where the next operation will clean up the surface anyway.
- Use a tighter stepover on final passes and visible edges.
- Check whether the time saved on the machine is lost later in sanding, polishing or scrap.
Tool Load, Chatter And Why The Machine Starts Complaining
When stepover increases, cutting forces rise with it. That matters on lighter machines, older routers and mills with more flex in the structure. A cutter that looks fine on the drawing can chatter badly if the stepover is too ambitious for the setup.
Chatter shows up as noise, vibration, a rippled finish and sometimes a burned or smeared edge. If the workholding is not firm, the problem gets worse. On plasma or routing shops with long tables and multiple setups, even a slight deflection can change the way the cutter tracks across the part. Keep an eye on spindle power, tool stick-out and the rigidity of the clamp arrangement.
A Centurion Shop Example: Less Rework, Better Output
A Centurion-based cabinet and moulding shop running mixed jobs for Pretoria and Johannesburg was struggling with inconsistent finishes on curved timber components. The operators had been using one conservative stepover on everything, which made the jobs slow. But when they increased stepover too far on the visible faces, the sanding time jumped and the finish quality dropped.
After separating roughing and finishing toolpaths, and setting a tighter stepover only on the final pass, they reduced cycle time without adding extra hand work. The team also adjusted post output so the feed changes and retract moves matched the machine behaviour better, which helped keep the process steadier during long shifts. Small setup changes made a real difference, no magic required.
- Rough faster, then leave a separate finishing pass for visible faces.
- Test a sample panel before running a full batch.
- Record the stepover that works for each material and cutter type.
Build A Shop Rule For Stepover And Stick To It
The best shops do not guess every time. They build a simple rule set for common materials, cutters and surface requirements, then train operators to use it consistently. That reduces variation between shifts and makes quoting more accurate too.
If your team is producing routed signs in Durban, milling aluminium plates in Vereeniging, or turning fixtures in Cape Town and then finishing pockets on a router, the principle stays the same: choose stepover for the result you need, not only for the fastest machine time. A steady process saves cutters, keeps customers happy and makes the next job easier to price.
For shops that want help setting up practical tool libraries, post-processors or training on these decisions, CNC Software supports CNC routing, milling, turning and plasma operations across South Africa from our Centurion base.