
Why Finish Checks Belong Before the Part Leaves the Machine
Surface finish is not only about looks. It affects seal performance, sliding contact, coating adhesion and how the customer judges the job when it arrives. If the part is going to a cabinet maker in Pretoria, a gearbox repair shop in Vereeniging or a coastal fabricator in Durban, the finish has to suit the use, not just pass a quick glance.
A simple review process at the machine helps catch chatter marks, tool wear, edge burrs and feeds and speeds that have drifted off target. It is faster to correct one part immediately than to remake a batch because the issue was only noticed at packing.
- Check the first-off part before the run continues
- Compare the finish against the drawing note or sample part
- Look for repeat marks that point to a setup or tool issue
What Operators Should Look For in a Quick Inspection
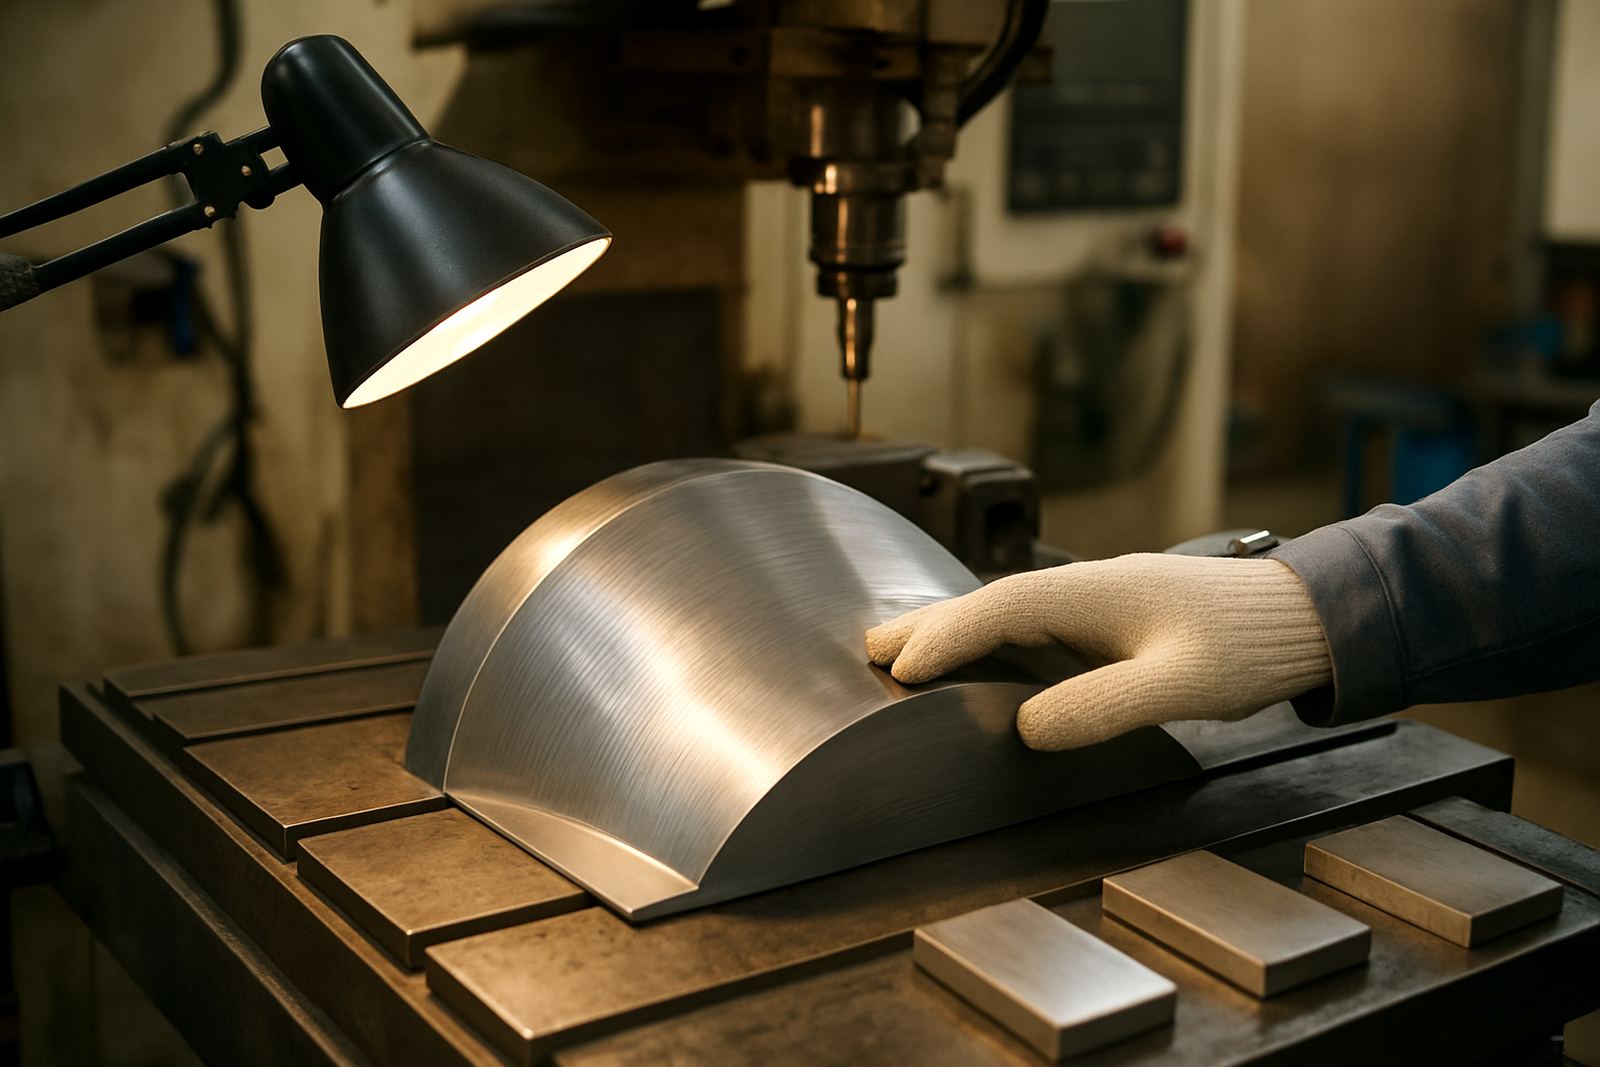
The best checks are visual and tactile, with clear limits. An operator does not need a lab to notice a dull patch, a ripple, a witness line from a worn insert or a rough edge on a routed component. On thin sheet or light aluminium parts, even a small vibration pattern can show up once the light hits it from the side.
Set up a short checklist that covers the common faults on your machines. Keep it close to the machine and use the same wording for everyone. That way the person doing the job knows exactly what to compare, even during a load-shedding recovery where the shift is already under pressure.
- Check for chatter, ridge marks and tool steps
- Feel edges for burrs where safe to do so
- Look for colour change on heat sensitive material
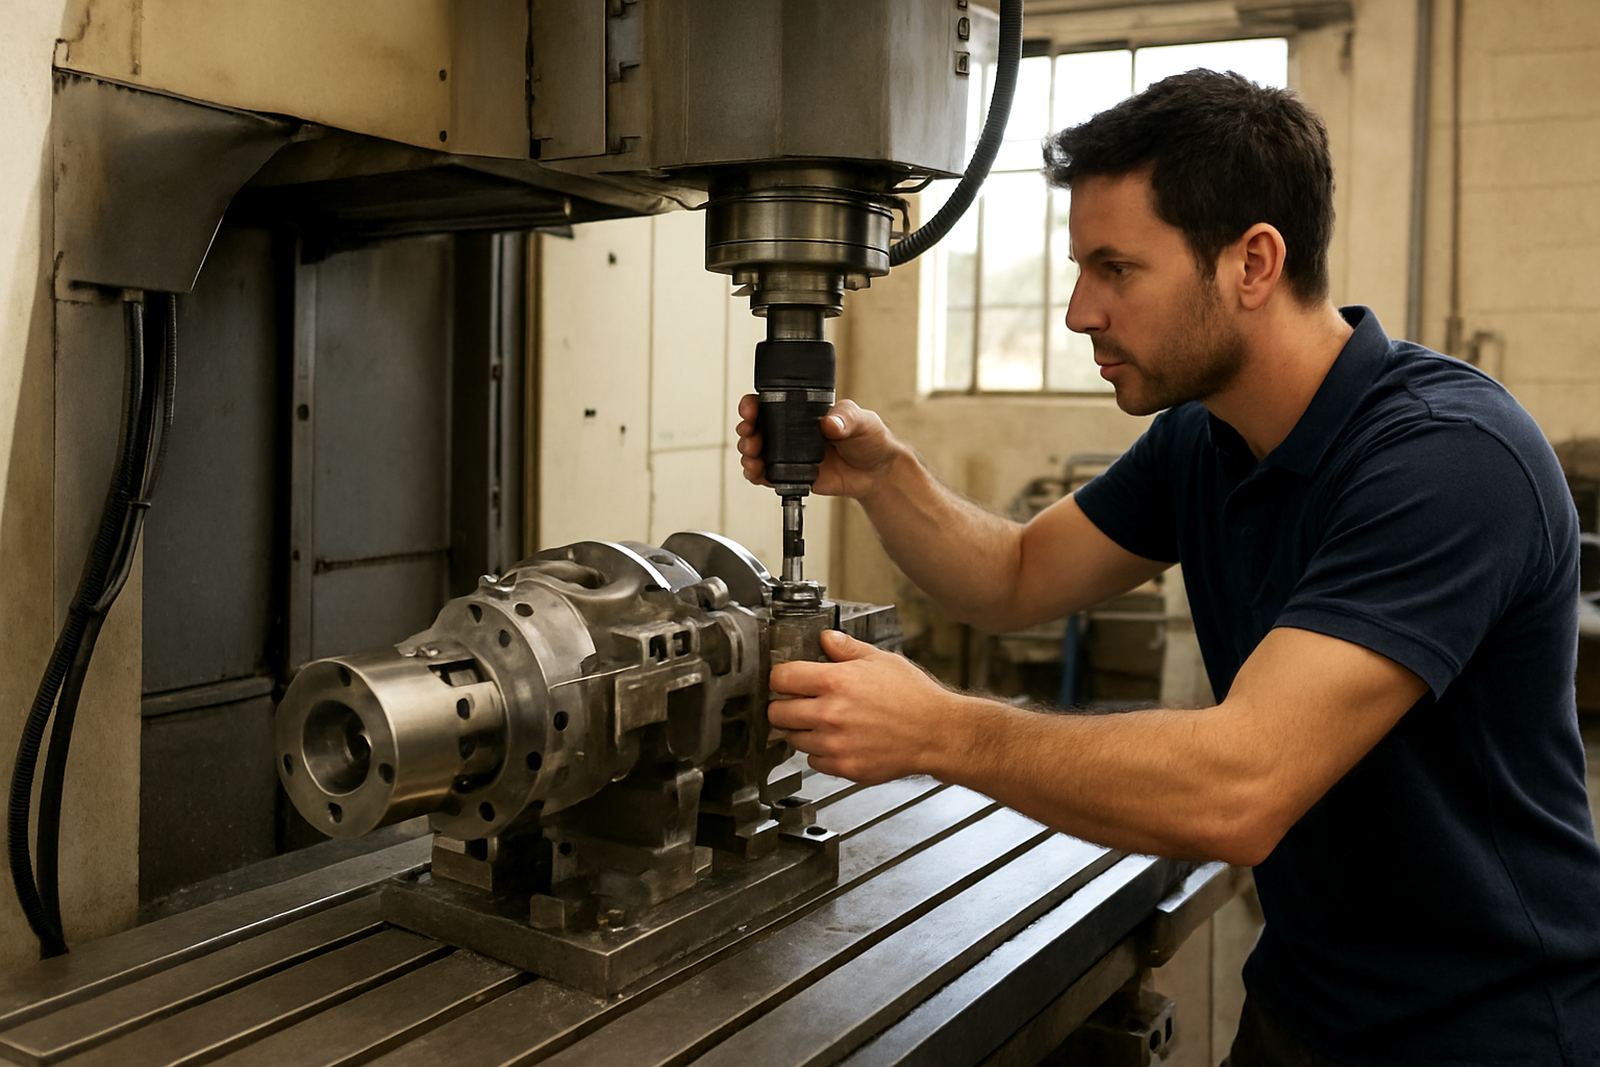
- Confirm the finish on both the visible face and hidden clamping face
The Tools That Help Spot Problems Early
You do not need a full inspection room to improve finish control. A decent light, a clean cloth, a magnifier and a roughness comparator for common jobs can go a long way. In a humid coastal workshop, keep these items dry and stored properly so corrosion and dirt do not throw off the result.
For repeat work, save a reference part from a good run and label it clearly. When the next batch starts, the operator can compare the new part against something real instead of relying on memory. That helps on jobs where the material changes from one supplier to the next and the finish drifts even though the programme is the same.
- Bright angled light to reveal lines and marks
- Magnifier for small burrs and edge defects
- Reference part from an approved run
- Written finish standard for each common material
Using Machine Data to Explain a Poor Finish
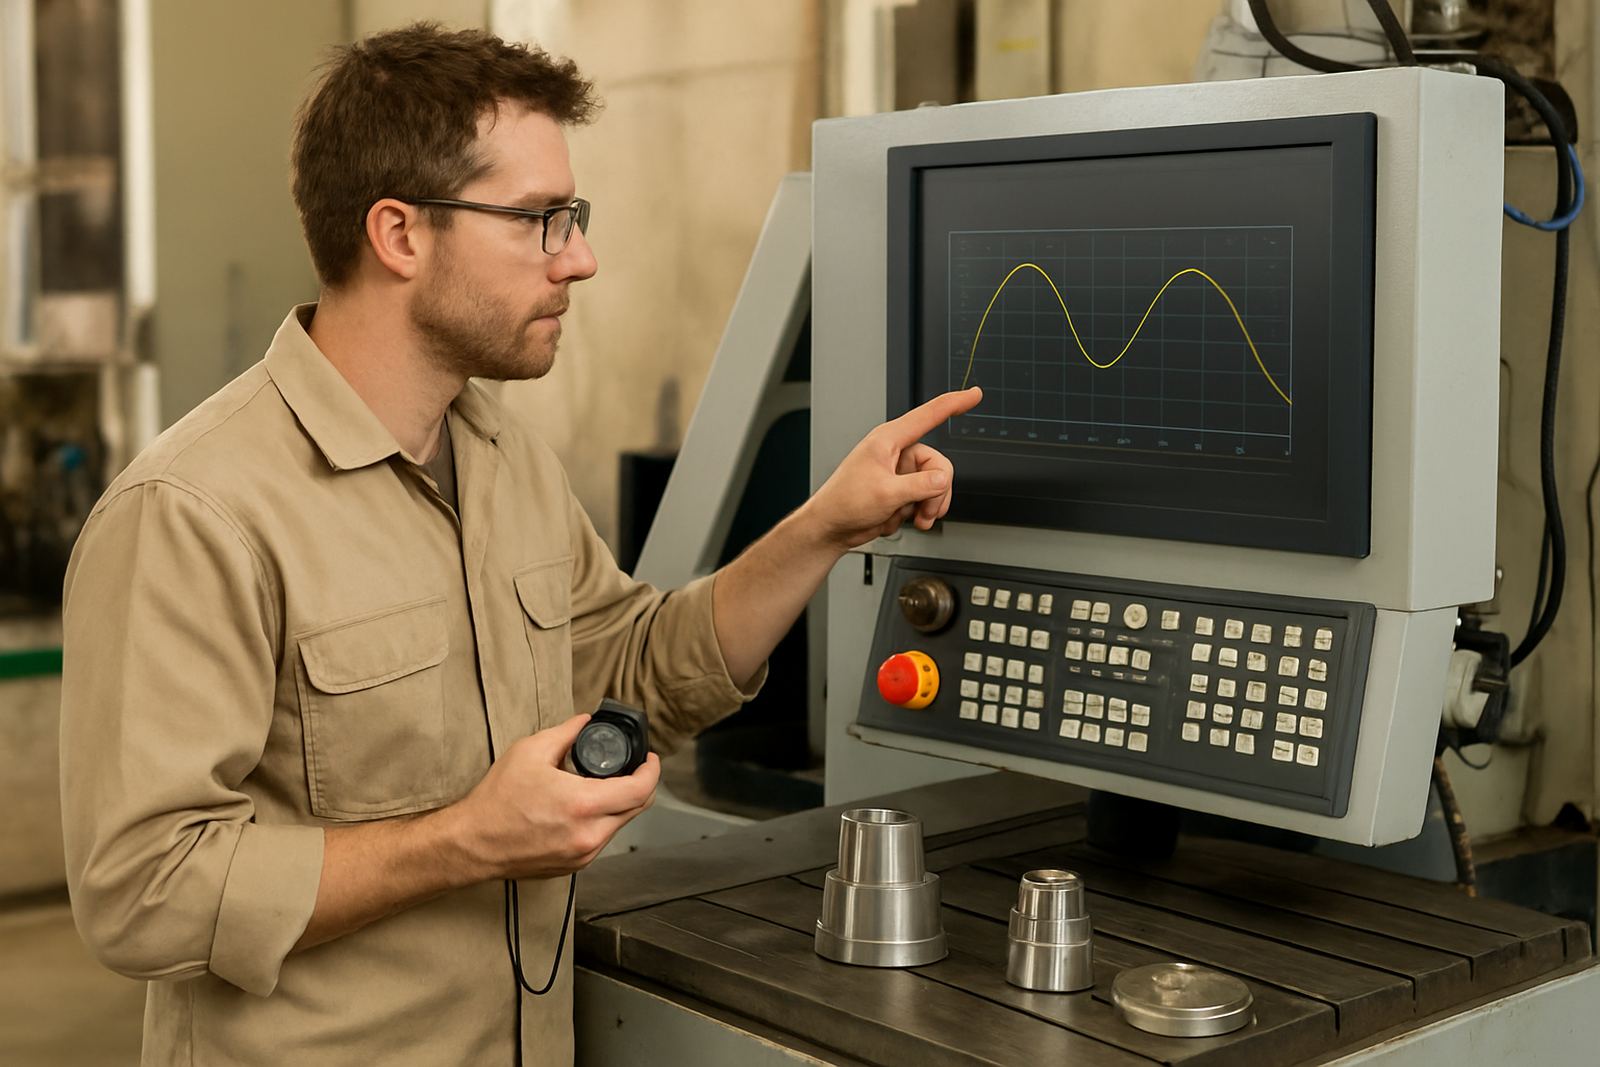
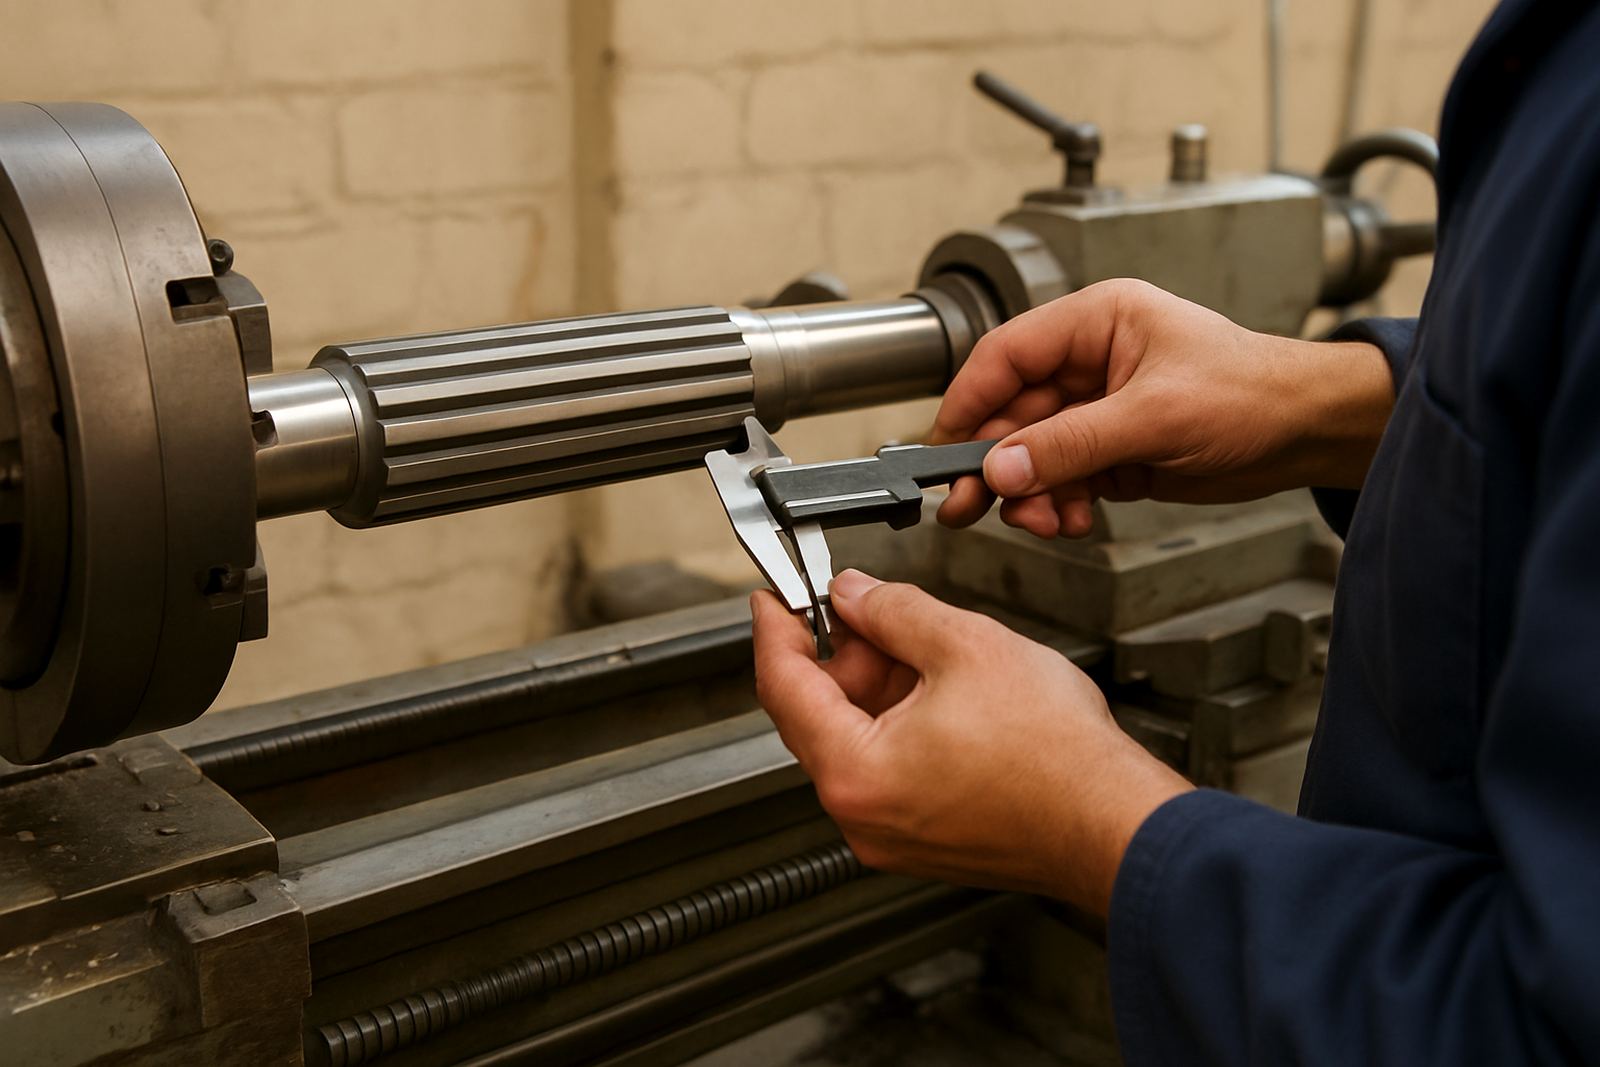
When a finish goes wrong, the cause is often already in the machine data. Tool wear, feed override changes, spindle speed drift, poor clamping and incorrect post output can all leave a visible trace. A rough finish on a turning job may point to insert wear, while a wavy wall on a routed panel can mean the toolpath is too aggressive or the holding is not stiff enough.
That is why finish checks should sit next to the programme, the post and the setup sheet. If the same problem keeps showing up, compare the cutting data and the machine output rather than blaming the part alone. A small change in lead-in, step-over or retract height can make a big difference.
- Check whether the feed override was altered during the run
- Review spindle load trends if the control provides them
- Compare the actual toolpath output against the intended strategy
A Pretoria Example from a Busy Job Shop
A Pretoria shop cutting acrylic and aluminium sign components started seeing a faint haze on the final pass, mostly on parts produced late in the shift. The operator first thought the sheet material was at fault, but the finish check showed a repeat line on the same face every time the machine ran warm. The root cause was a worn cutter combined with a slight change in hold-down pressure after a restart.
Once the team added a first-off inspection and a mid-run check after each break, the issue stopped. They also wrote down the acceptable finish for each material thickness, so new staff did not have to guess. It was a small change, but it cut rework and kept the customer from sending back parts that looked fine in the packing room and poor under daylight.
How to Build a Finish Check Routine That Sticks
Keep the routine short enough to finish in under five minutes. If it takes too long, it gets skipped when the shop is busy. Assign responsibility clearly, use the same sequence every time and record the result on the job card or setup sheet. A simple pass or hold decision is often enough to keep the process moving.
Training matters too. Operators and programmers should both know what a good finish looks like on the machine they use most. For shops with multiple sites or shifts, the same standard should apply whether the job is running in Centurion, Johannesburg or Cape Town. That consistency helps when jobs are moved between machines and the customer expects the same result each time.
- Make the check part of the setup, not an extra task
- Use one agreed standard for each common finish type
- Record faults so repeat issues can be traced later
- Review the routine after any machine change or new post update